
Setting Up Meta Pixel with AI Cofounder : Step by Step Integration Guide
This guide outlines the process for integrating the Meta Pixel into your website for effective tracking and marketing optimization. The Meta Pixel (formerly known as the Facebook Pixel) is a powerful tool that allows businesses to monitor and optimize the performance of their advertising campaigns. By setting up the Pixel, you can track visitor behavior on your website, optimize ad campaigns, retarget website visitors, and measure conversions from Meta ads.
🔗 Skip to your flow directly
Business Manager Account Creation
Navigate to https://business.facebook.com/
You can either log in to your existing Facebook or Instagram account, or create a new account if you don't have one.

Login with your personal Facebook account details.
IMPORTANT: It’s not possible to create a Meta business account without a personal Facebook account so make sure you already have one in advance.
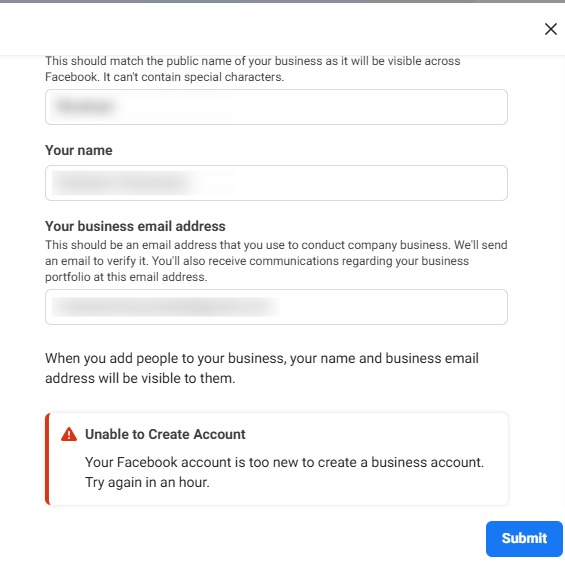
To create your business account in Business Manager, start by entering your business name and account name. Then, add your name and business email for account verification. Finally, click 'Submit' to create your account.
Check your email for a message with the subject line “Confirm your business email.” Click Confirm Now in the message.
After confirming your account, proceed to add your business details, including the legal name, address, phone number, and website.
Welcome to Meta Business Suite! To begin, click on "Business Settings" to proceed with the next steps.
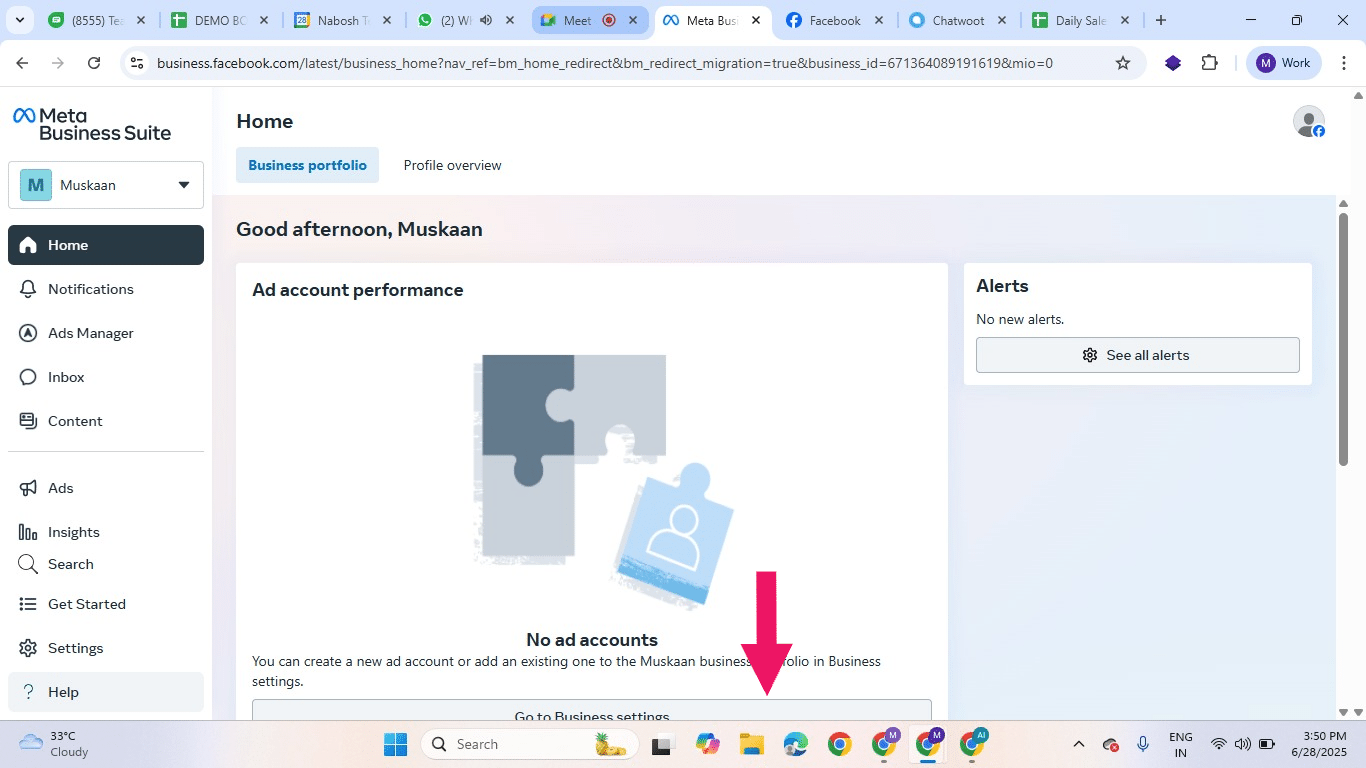
This is your Business Info Page. Here, you can add pages, people, ad accounts, and much more.
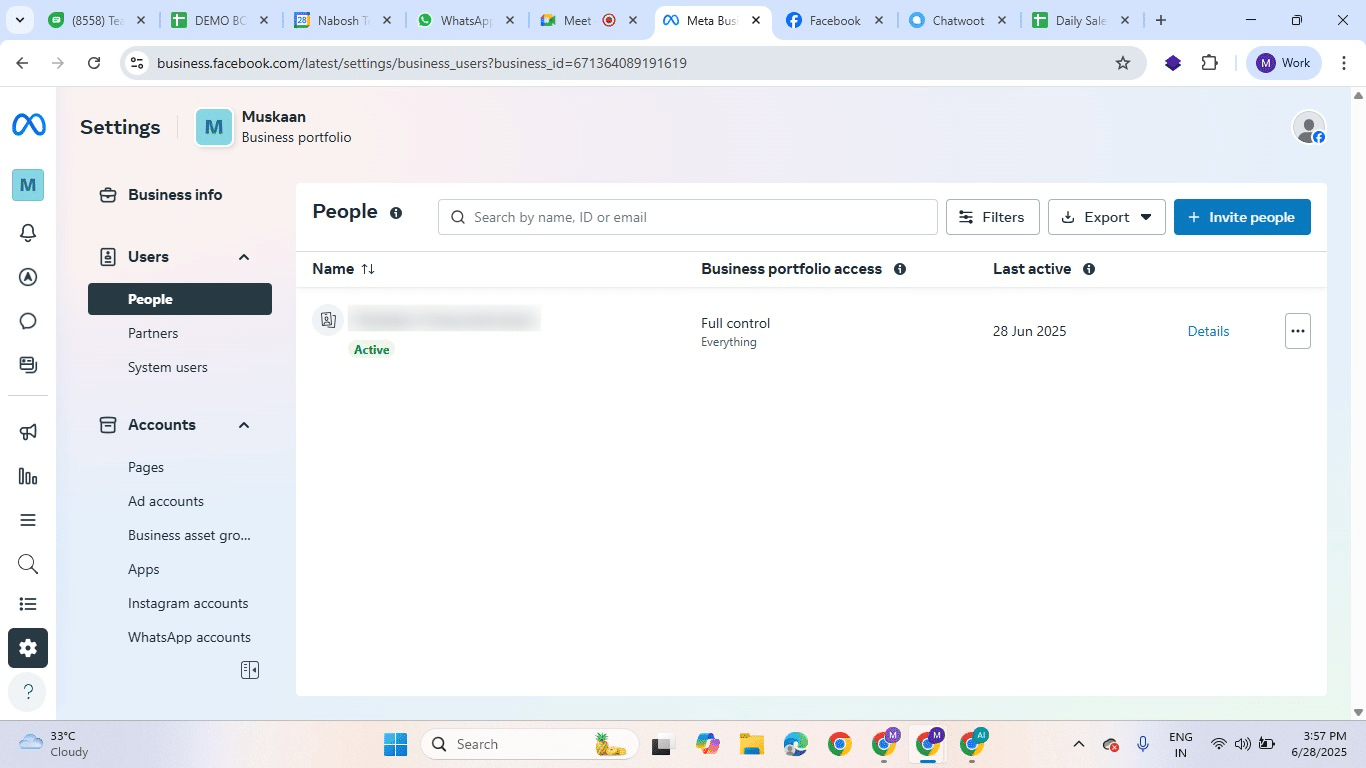
Add your Facebook Business Page(s)
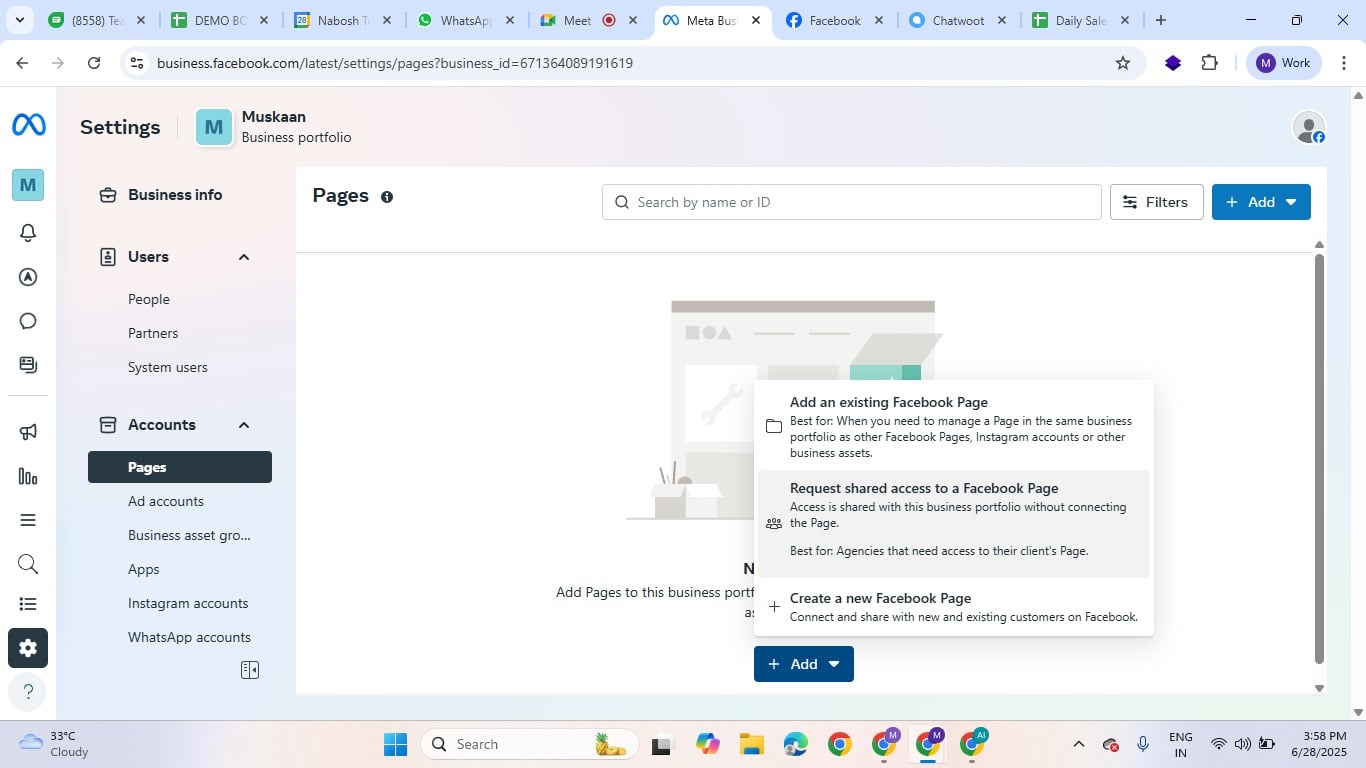
In this step, you have a few options: You can add an existing Facebook business page, create a new one, or request access to another person's page if you manage Facebook pages for clients or other businesses.
If you haven't already created a Facebook Business page, creating one is required before proceeding.
✅ How to Create a Facebook Page – In 5 Steps
Log in to Facebook → Go to facebook.com/pages/create using your personal profile.
Enter Page Info → Add Page Name, Category, and Bio (short description).
Upload Visuals → Add your logo (profile photo) and a banner (cover photo).
Click “Create Page” → Your page goes live immediately after this step.
Customize Details (Optional) → Add contact info, business hours, and connect it to Meta Business Suite.
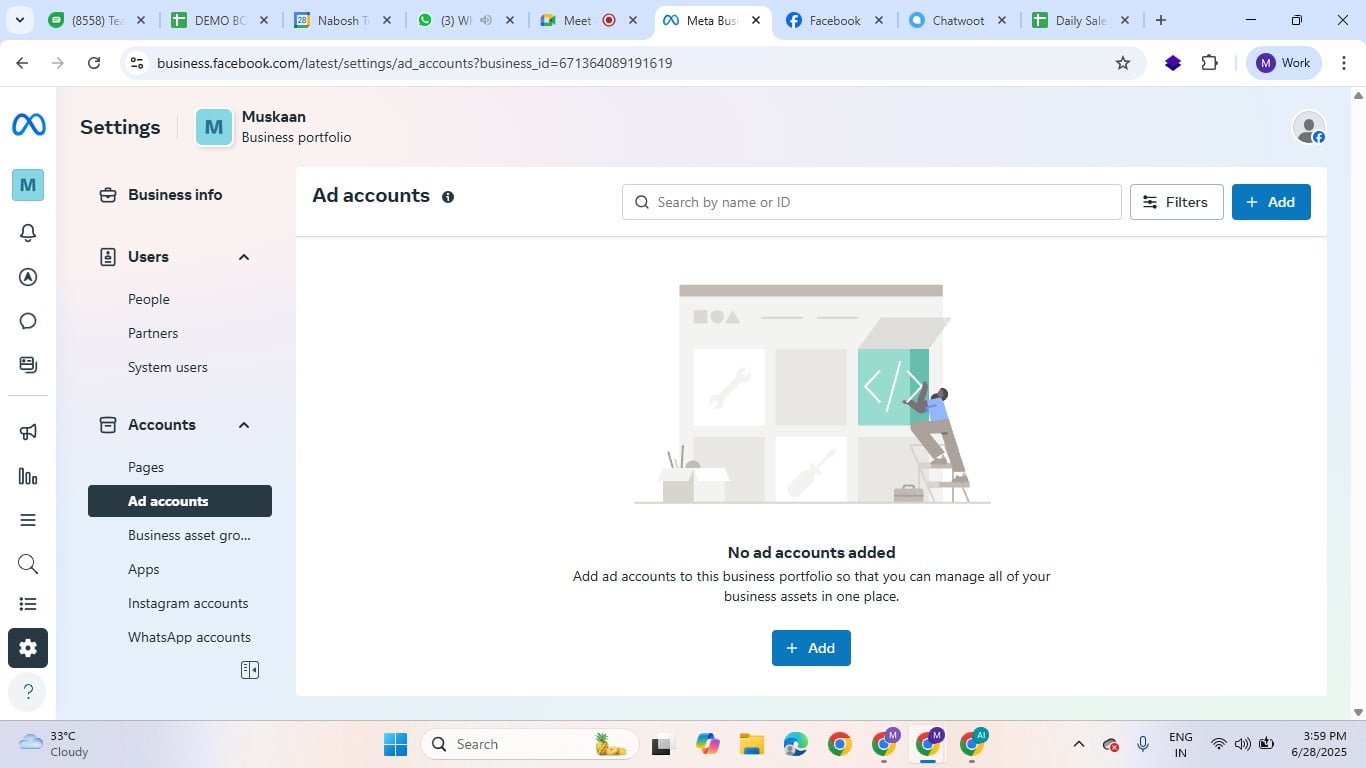
Ad Accounts Creation
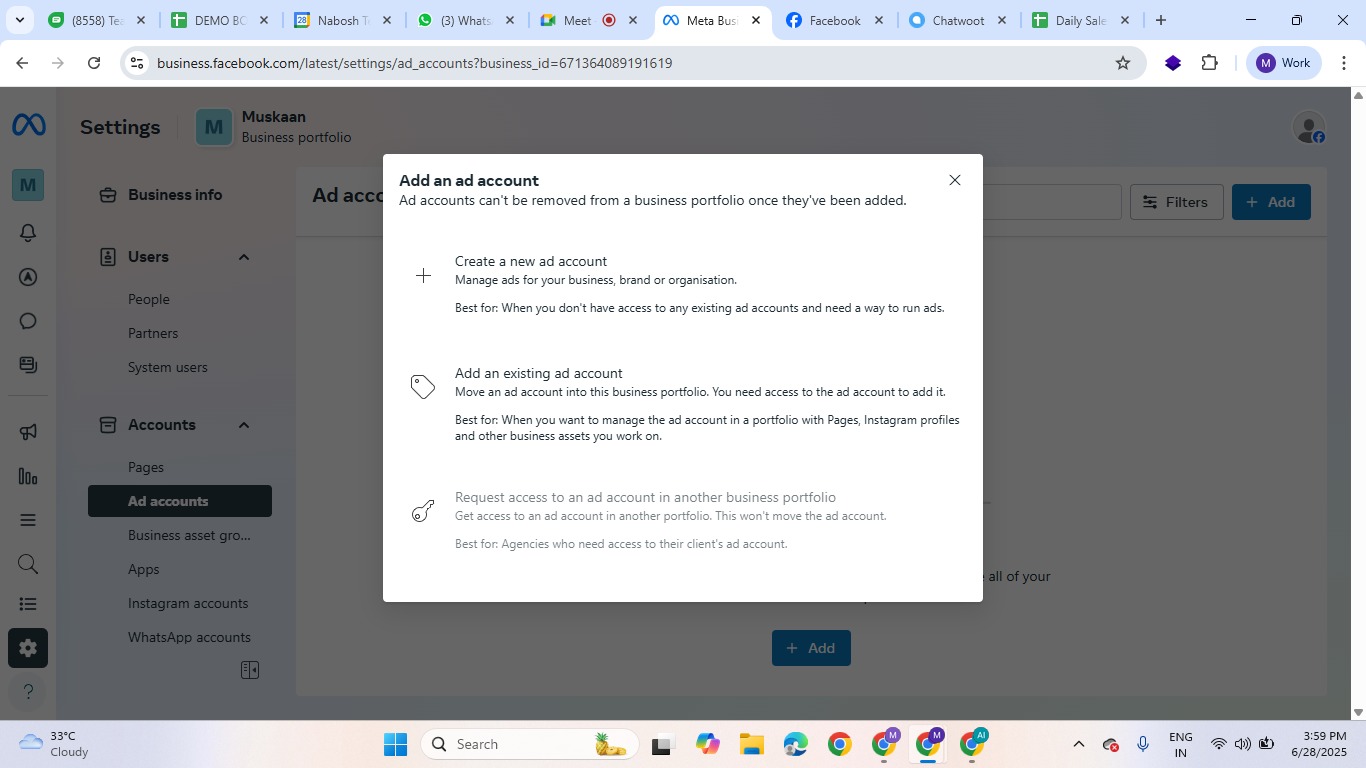
To create a new ad account, select Add. Then, enter the necessary details, including the ad account name, your time zone, and the currency for ad payments.
First, select Create a new ad account. Then, provide the necessary details for your new ad account, including the ad account name, your time zone, and the currency you will use for ad payments.
Add all details and click "Next".
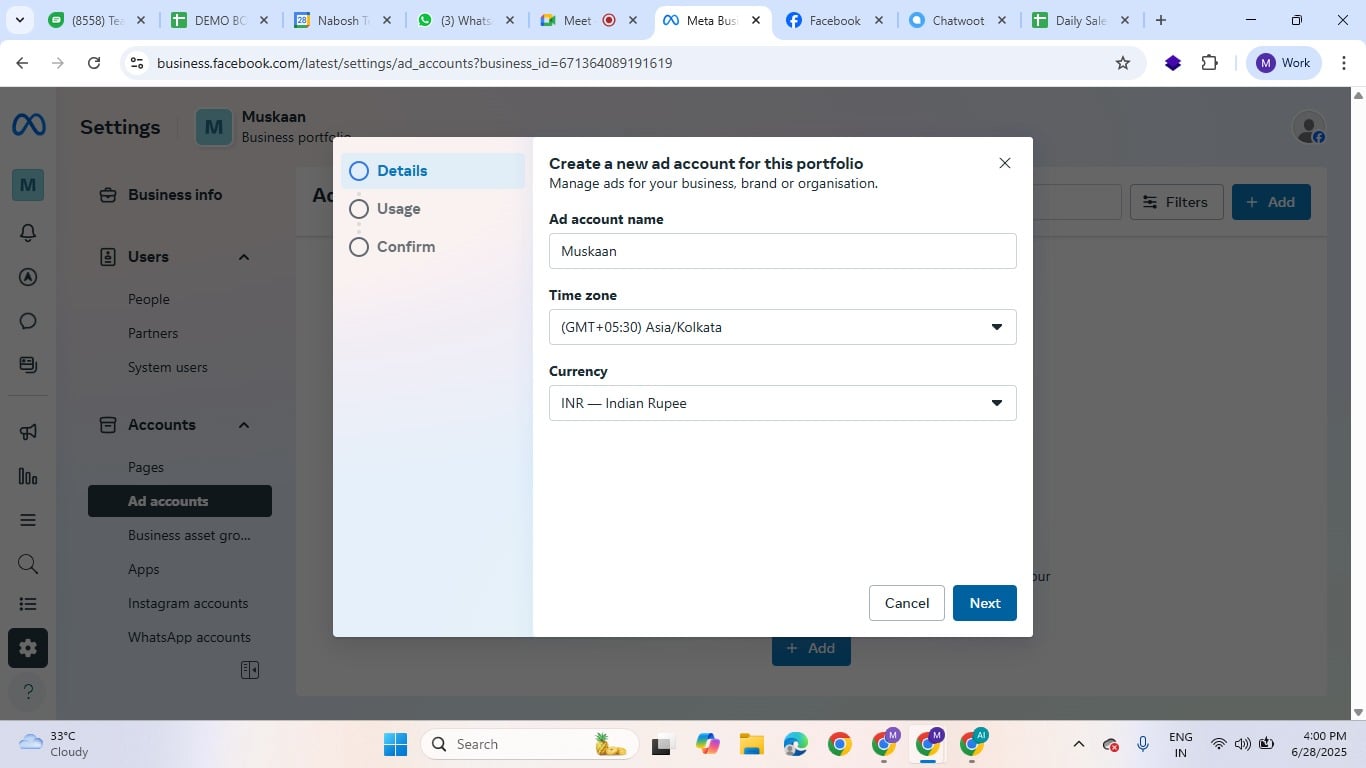
Please enter the required information in the designated fields, and then click "Next" to continue.
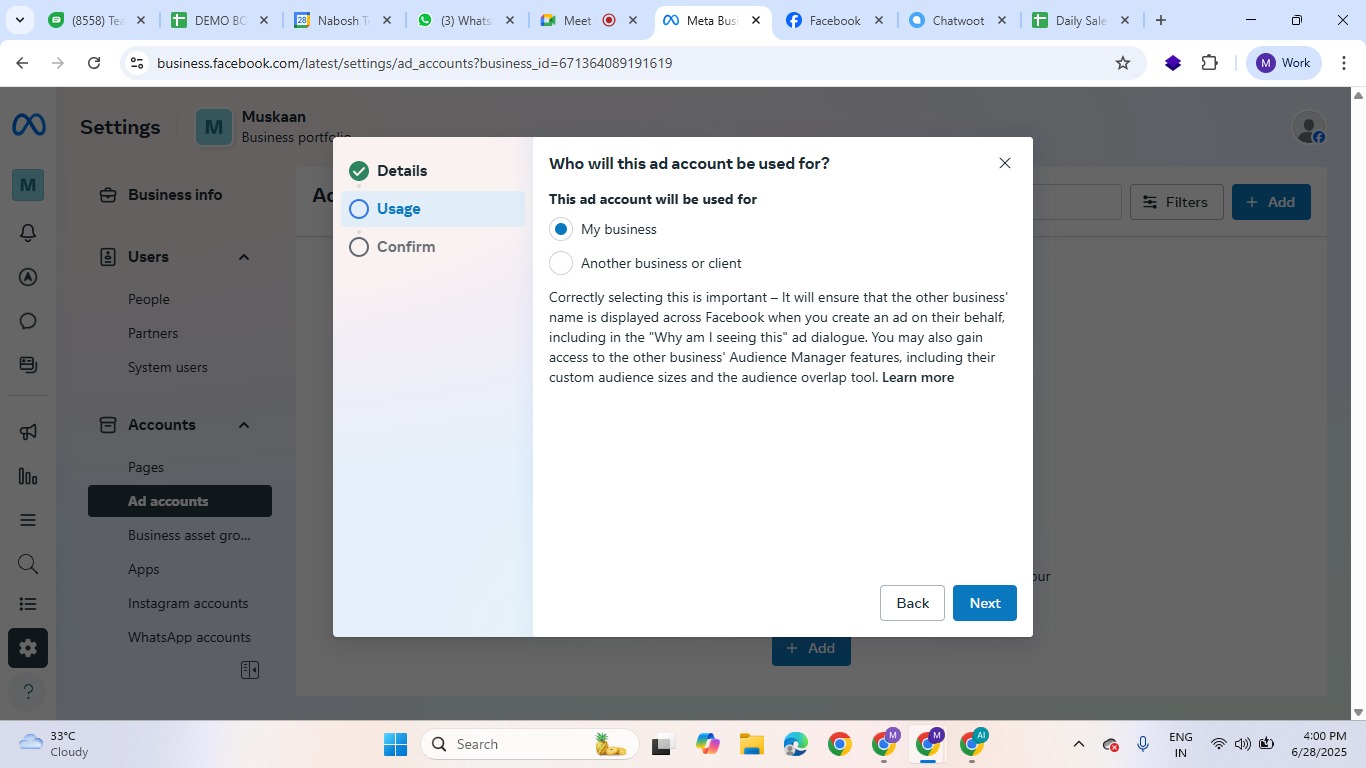
Review and accept the terms and conditions, and then click "Create an ad account."
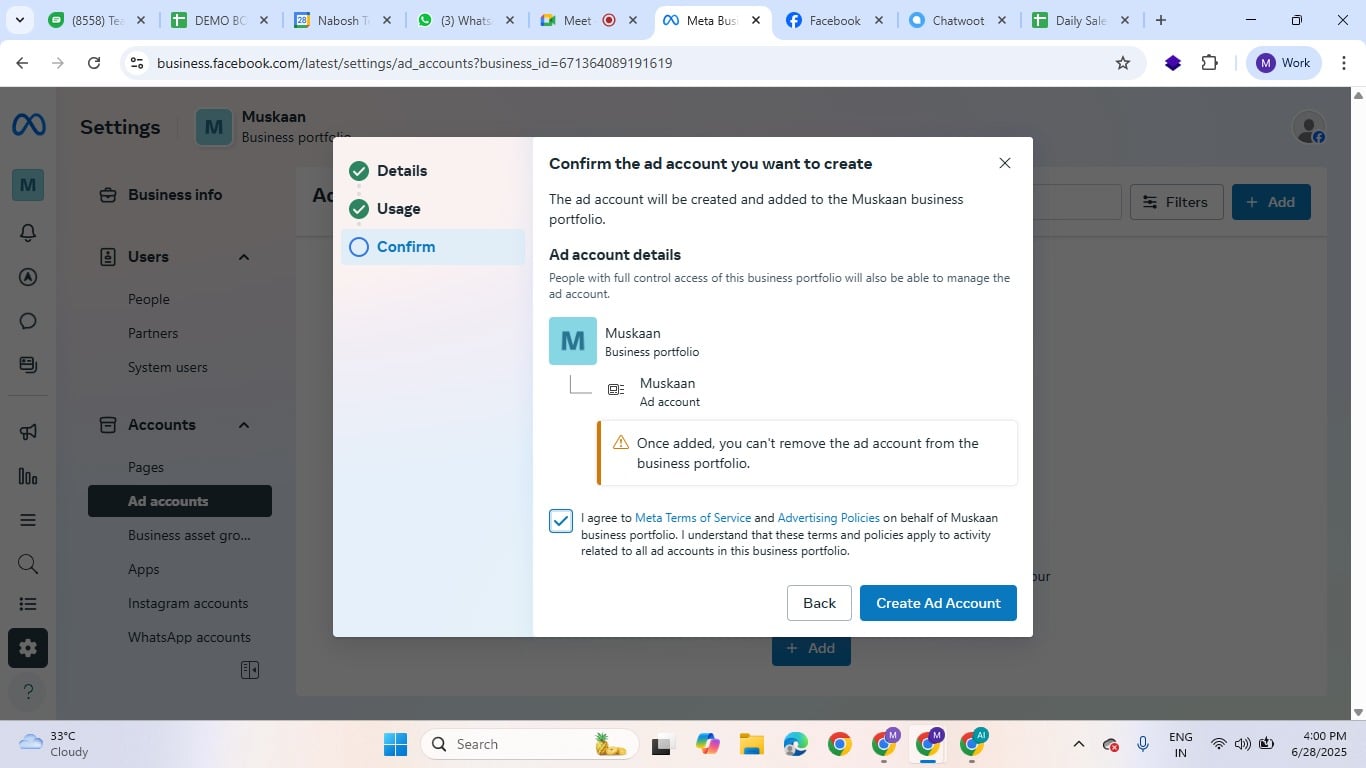
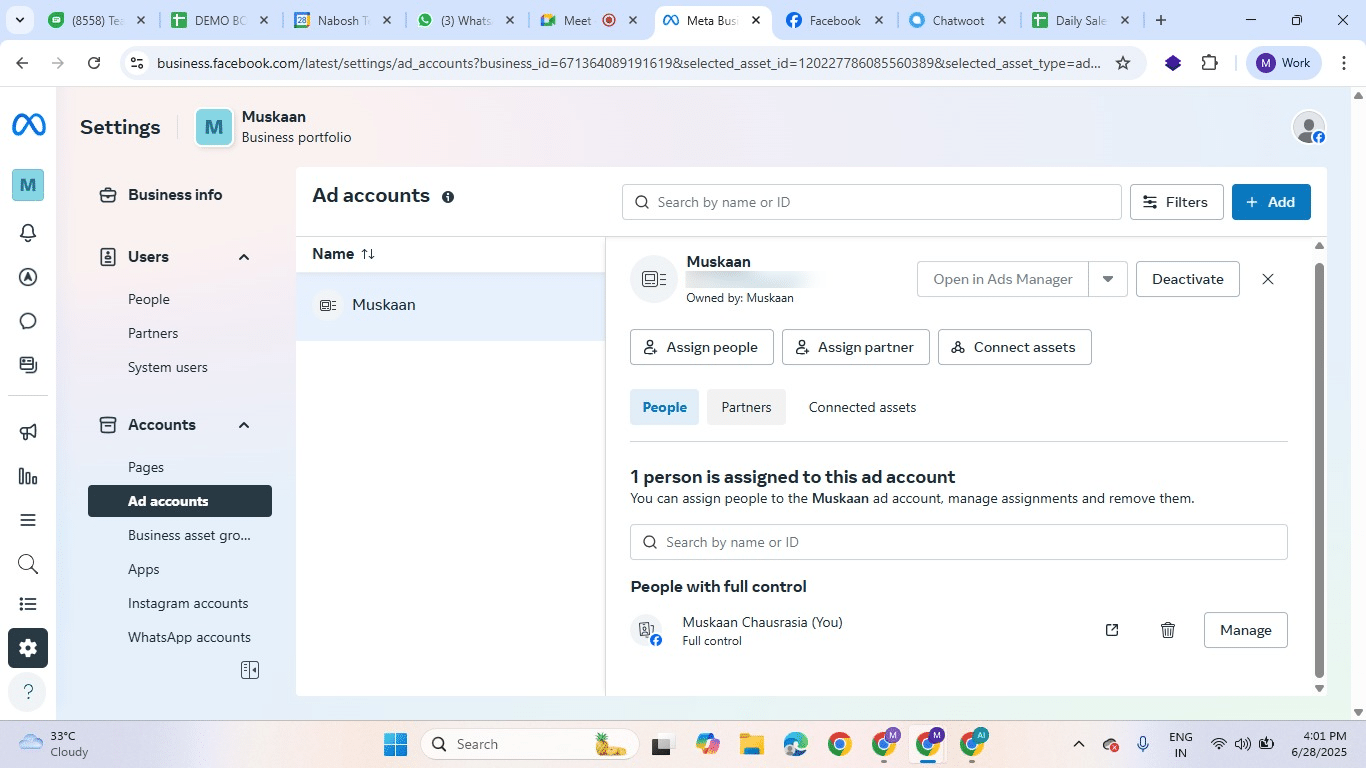
Your ad account has now been successfully created!
Set up Meta Pixels
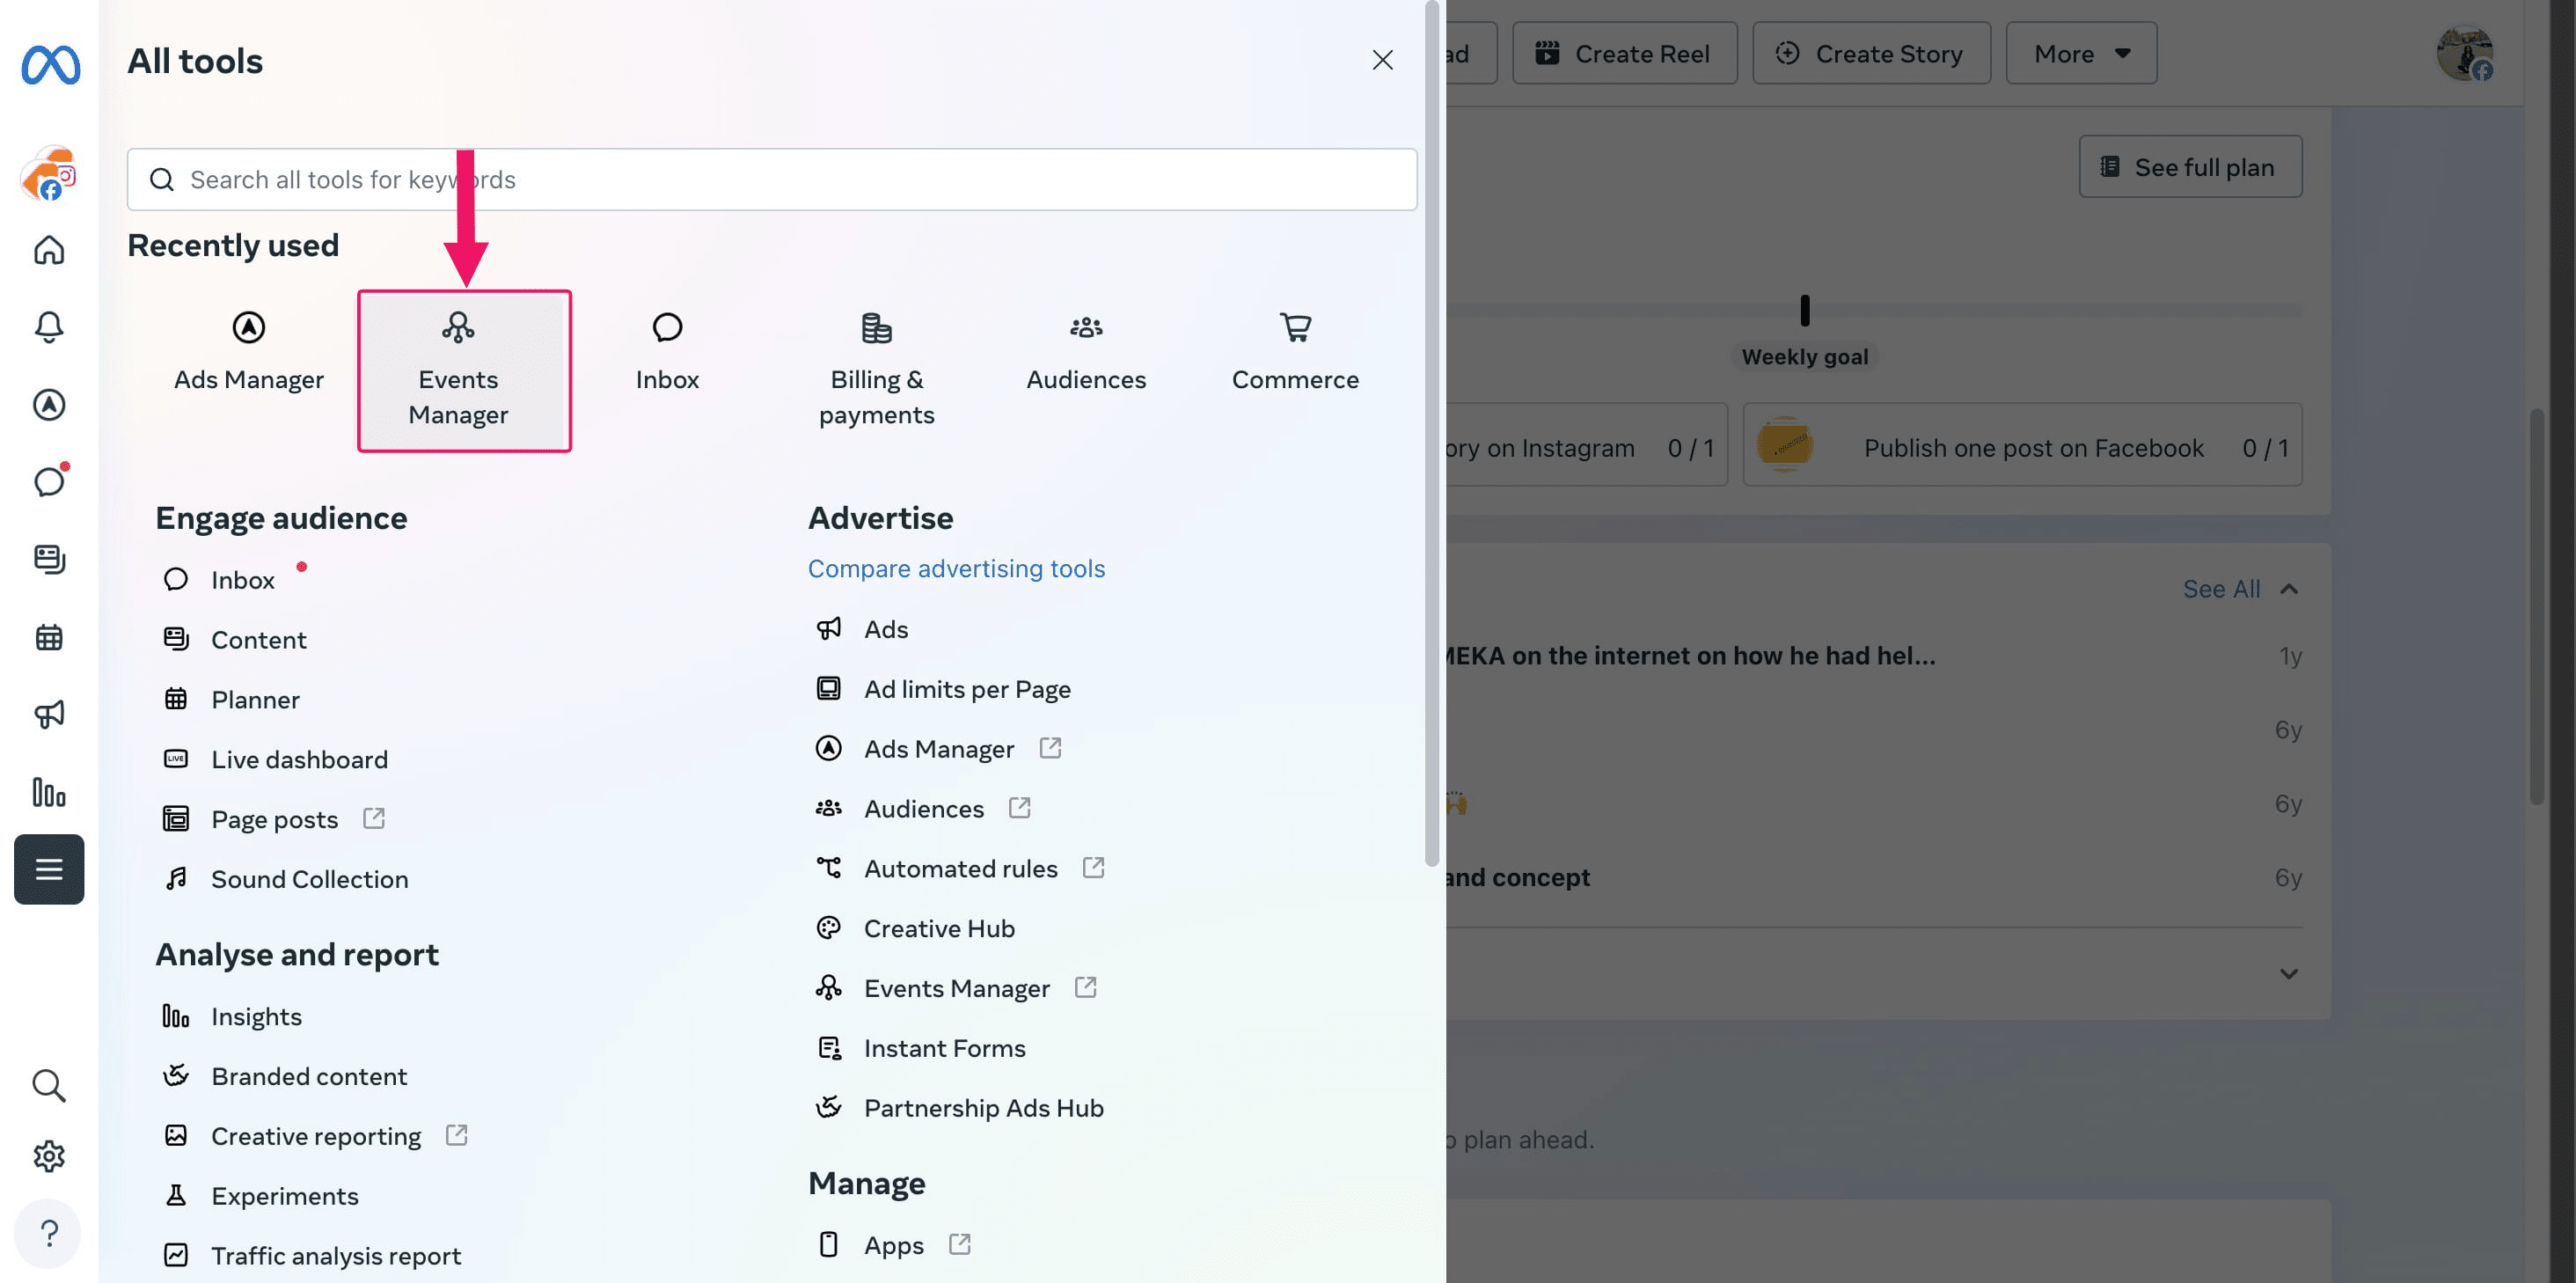
On the left panel, click "All Tools".
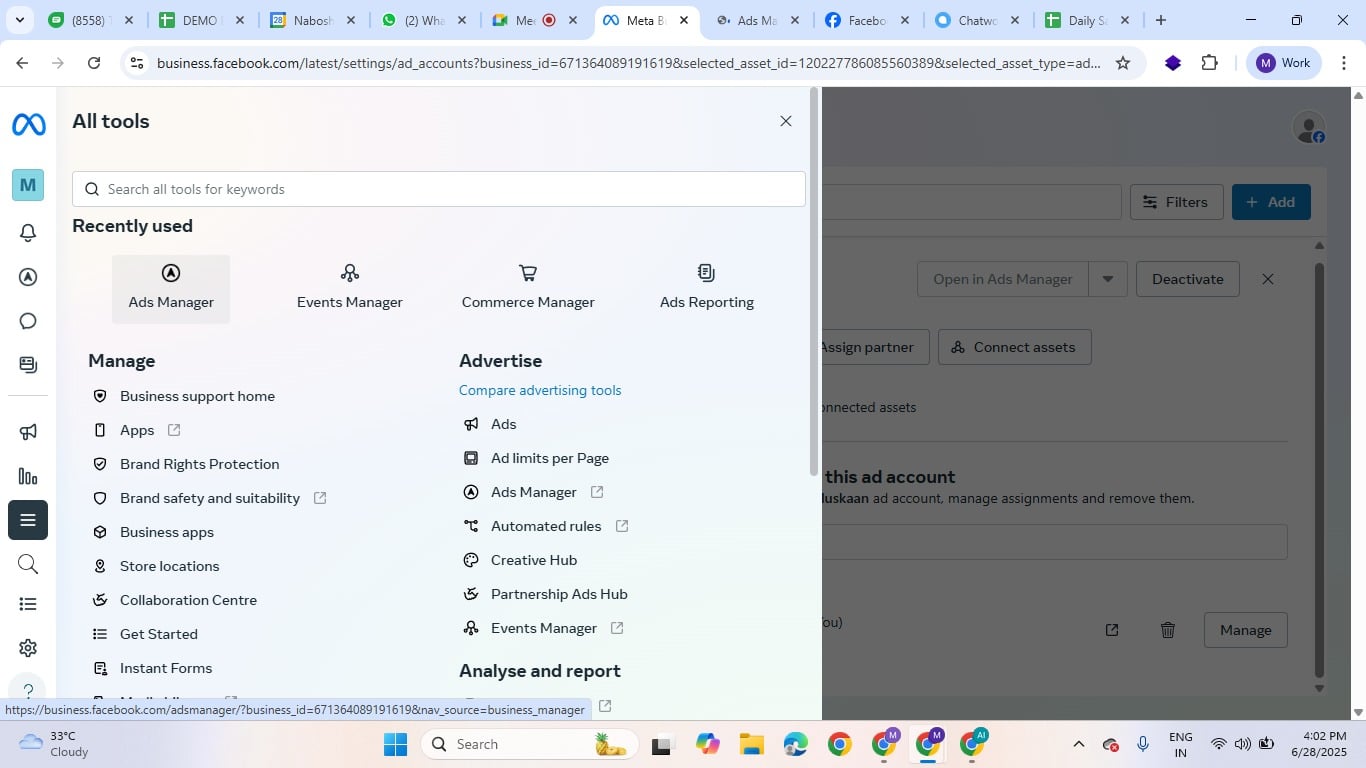
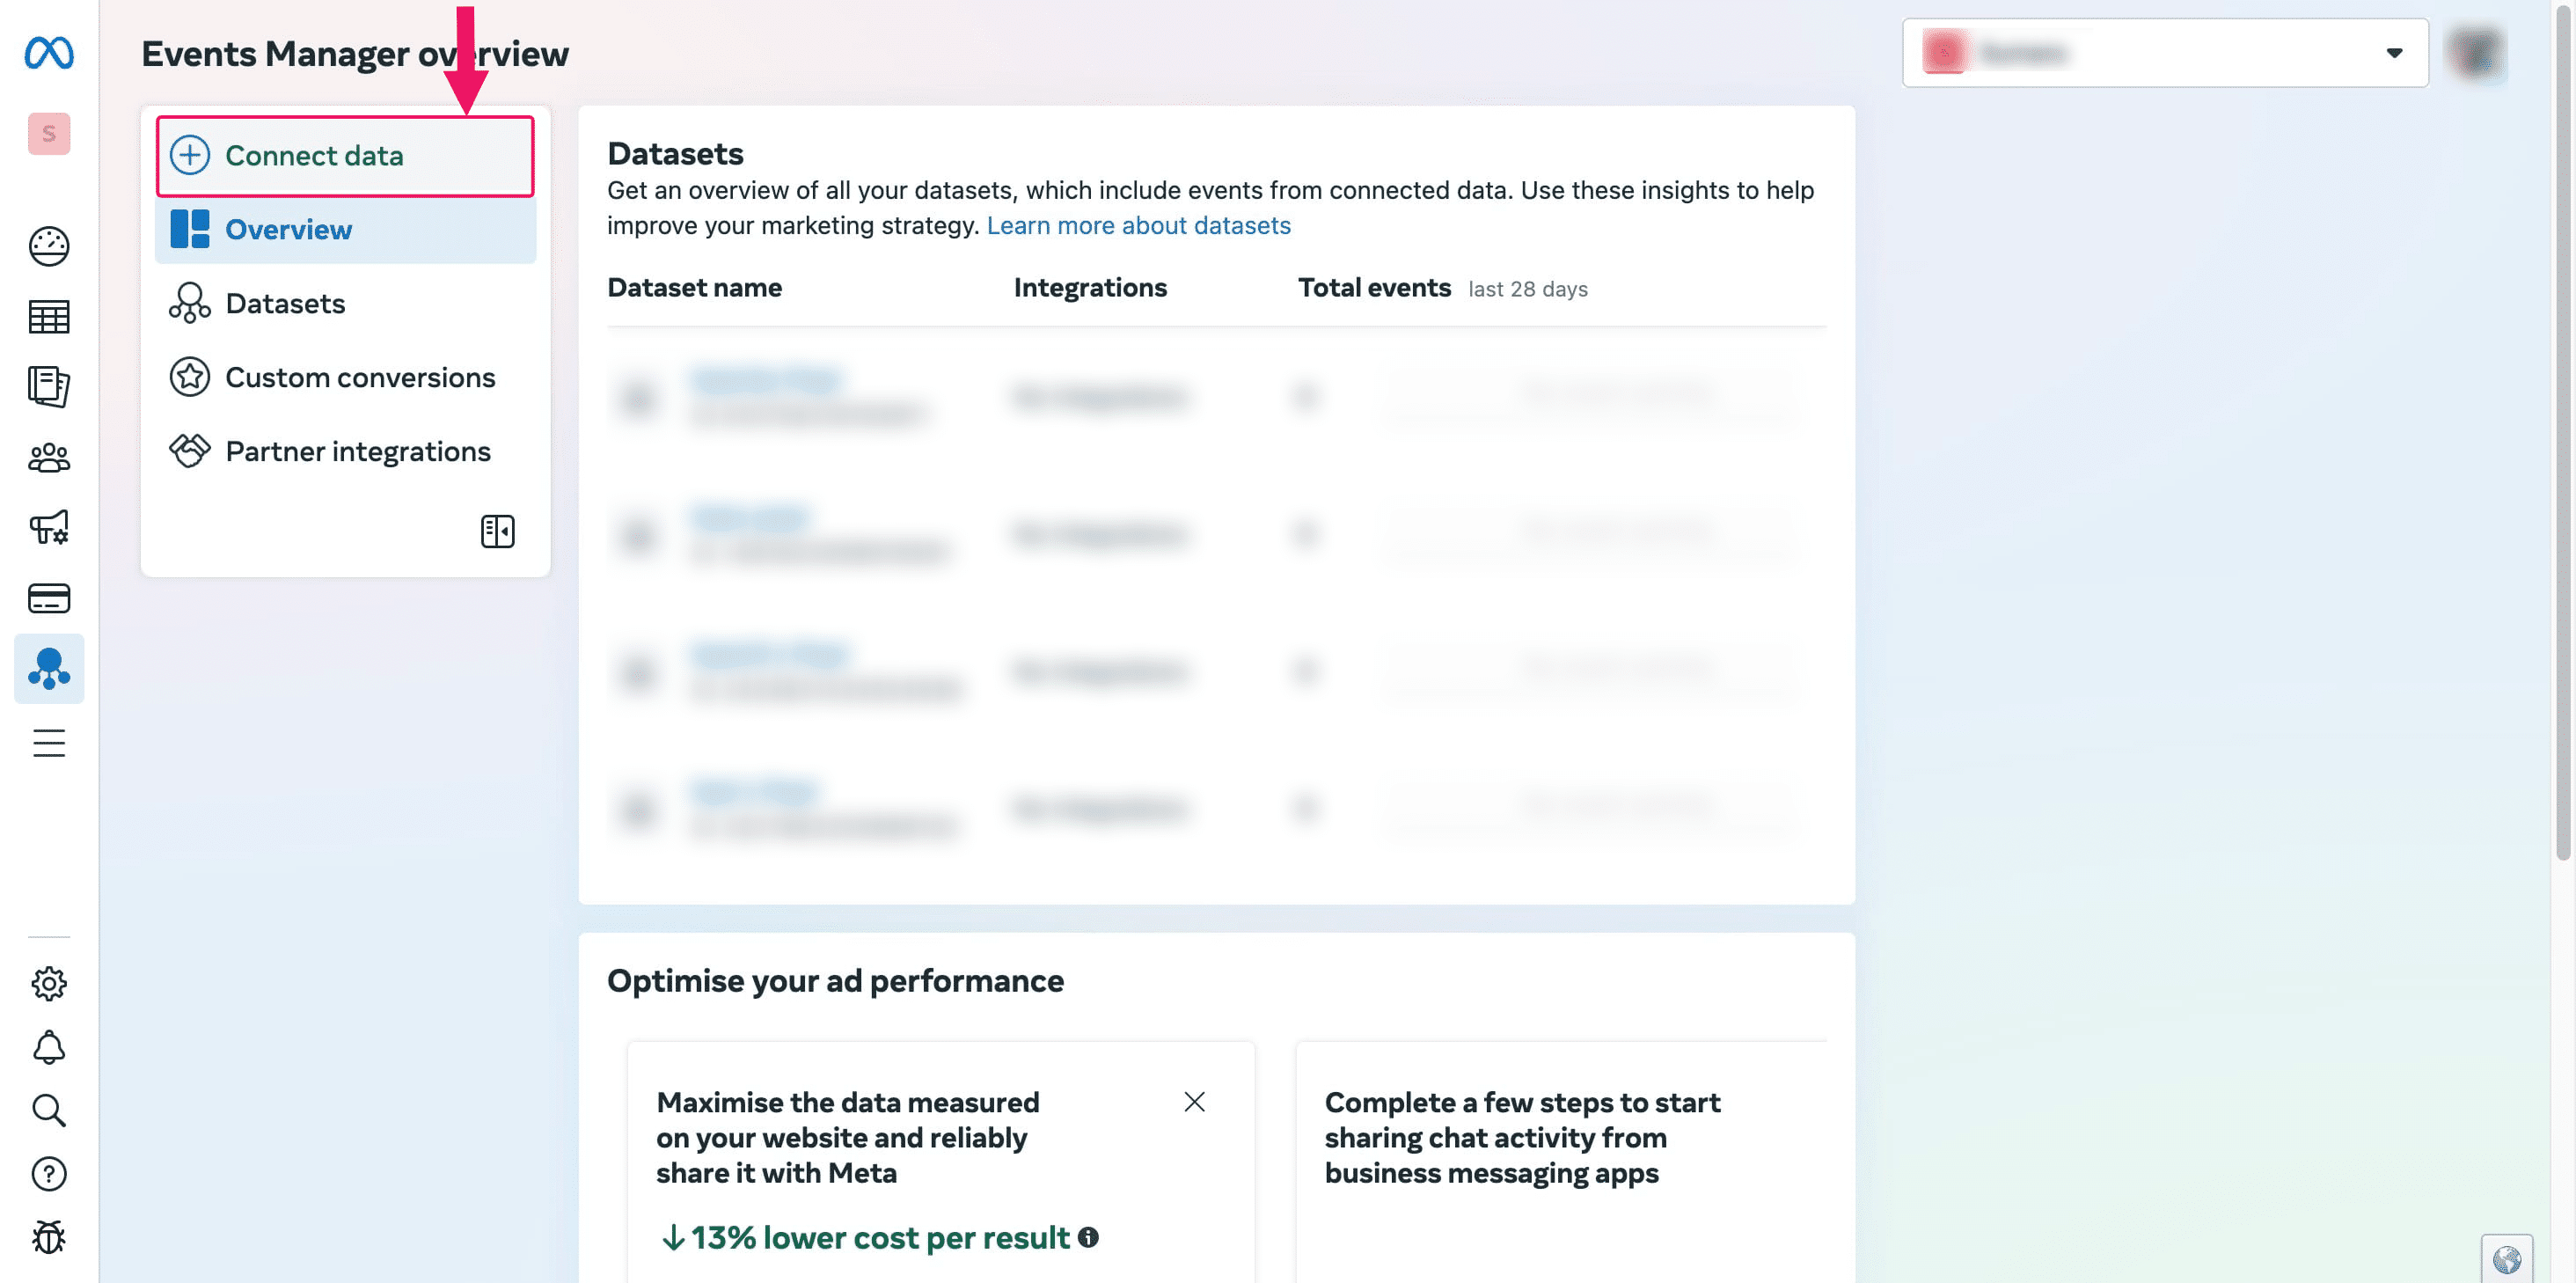
Click on "Events Manager"
In the Event Manager, click on "Connect Data".
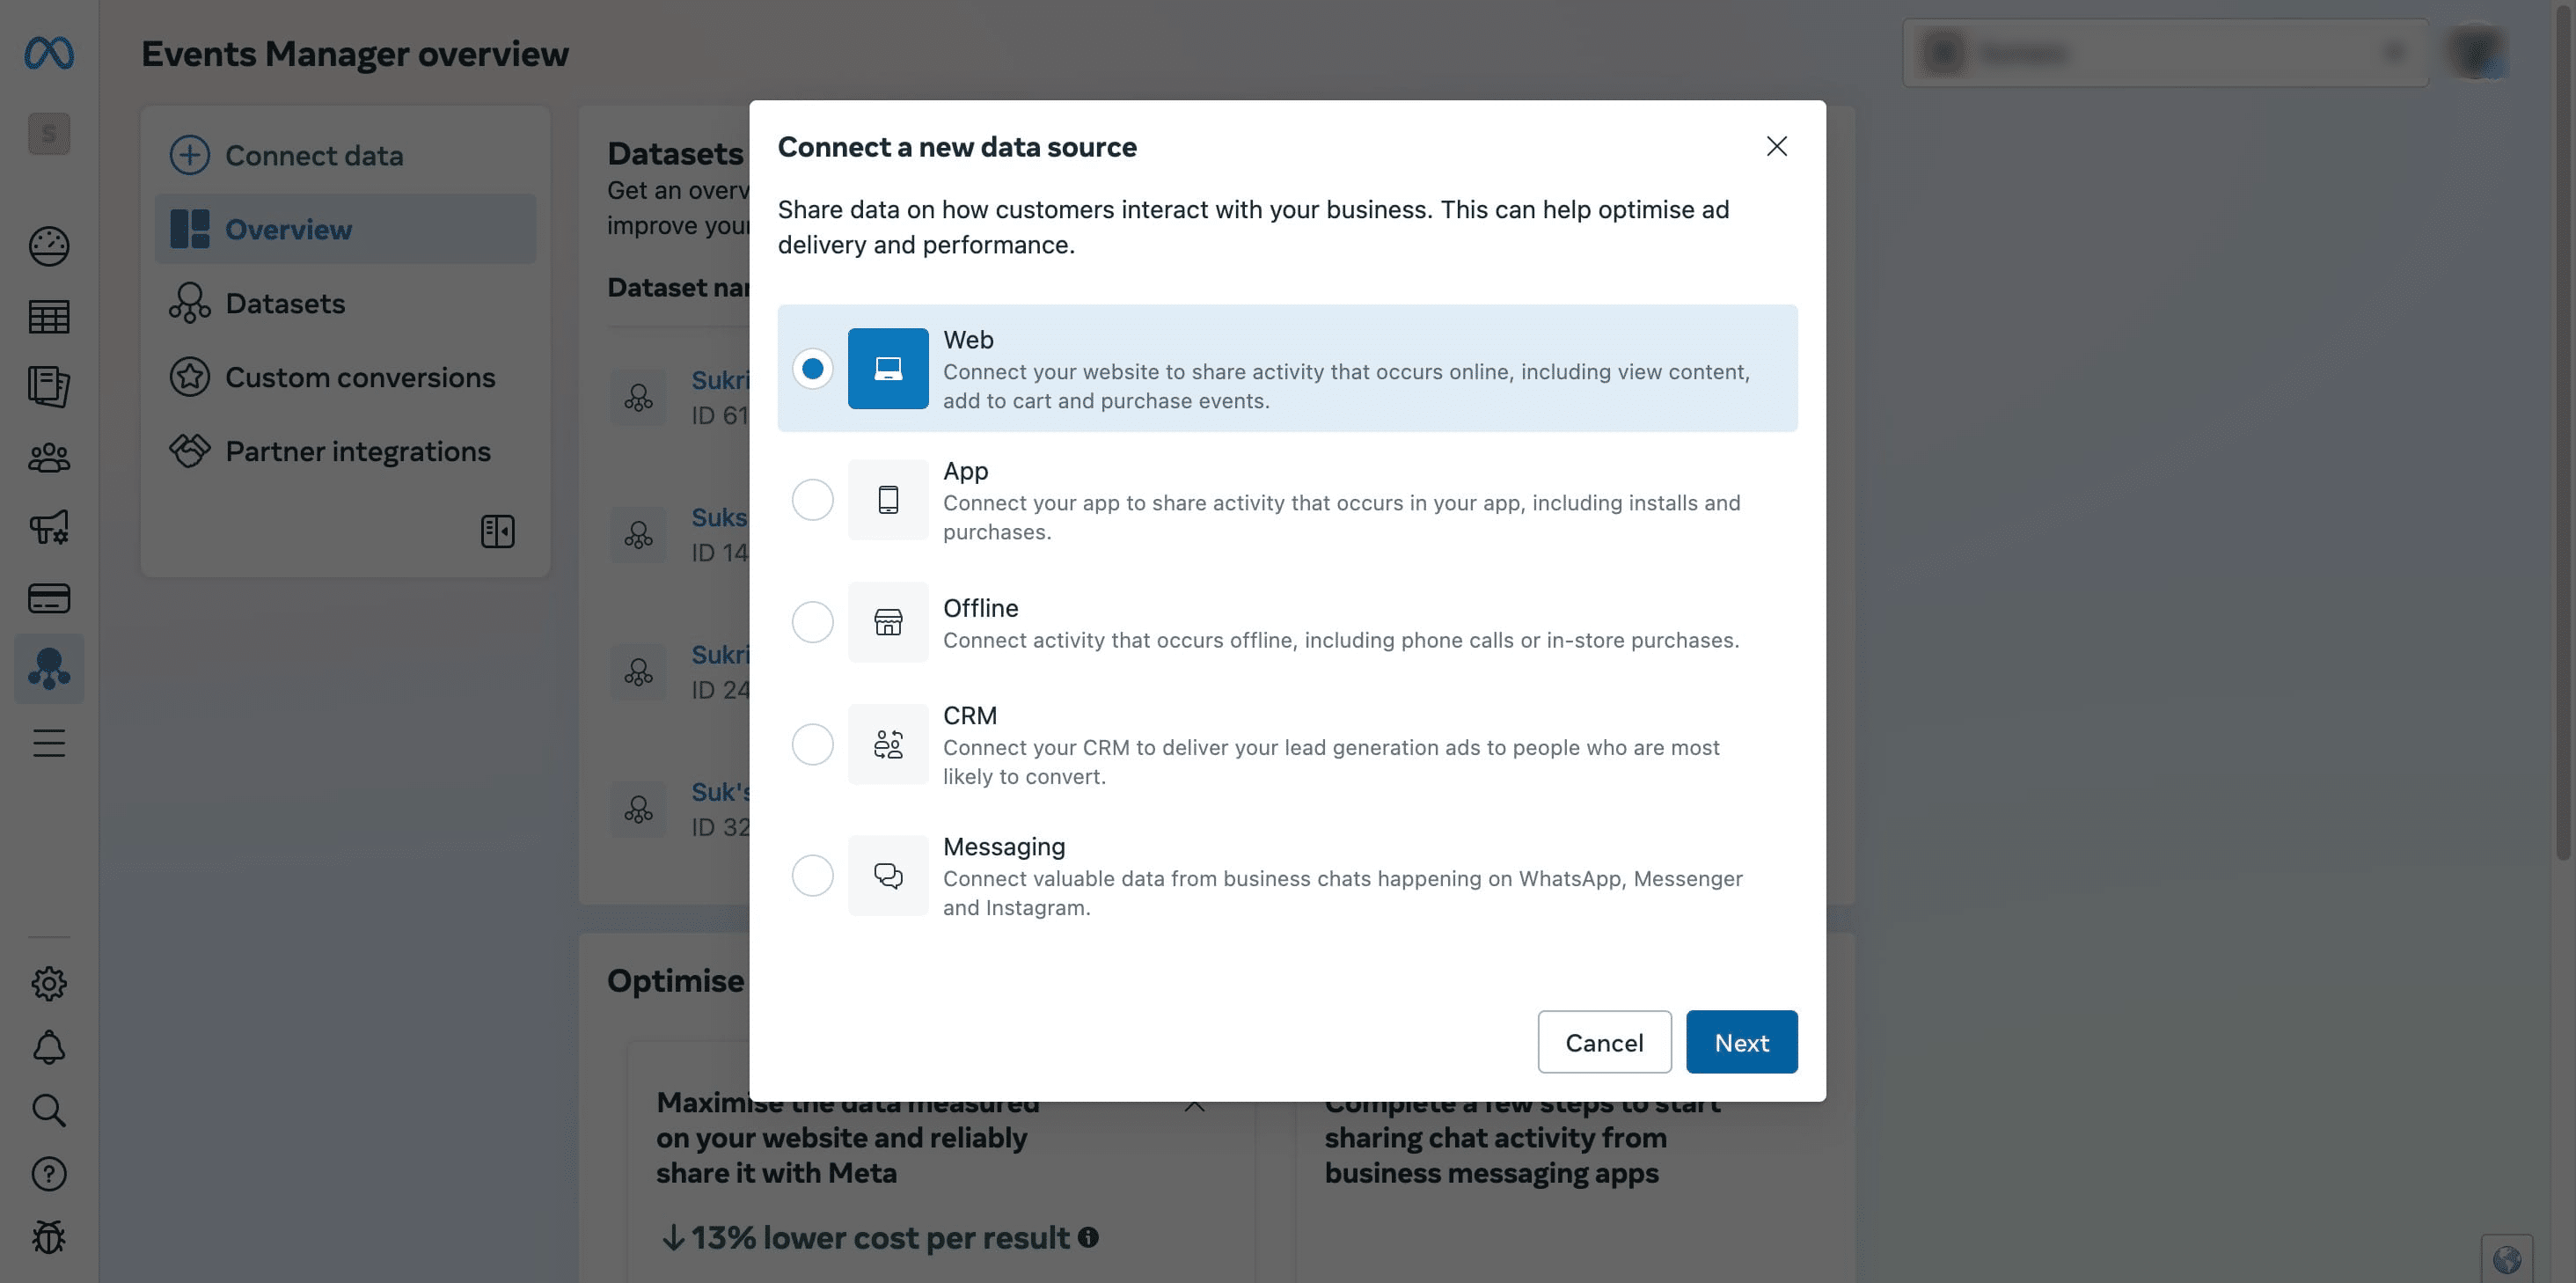
Select "Website" as the data source.
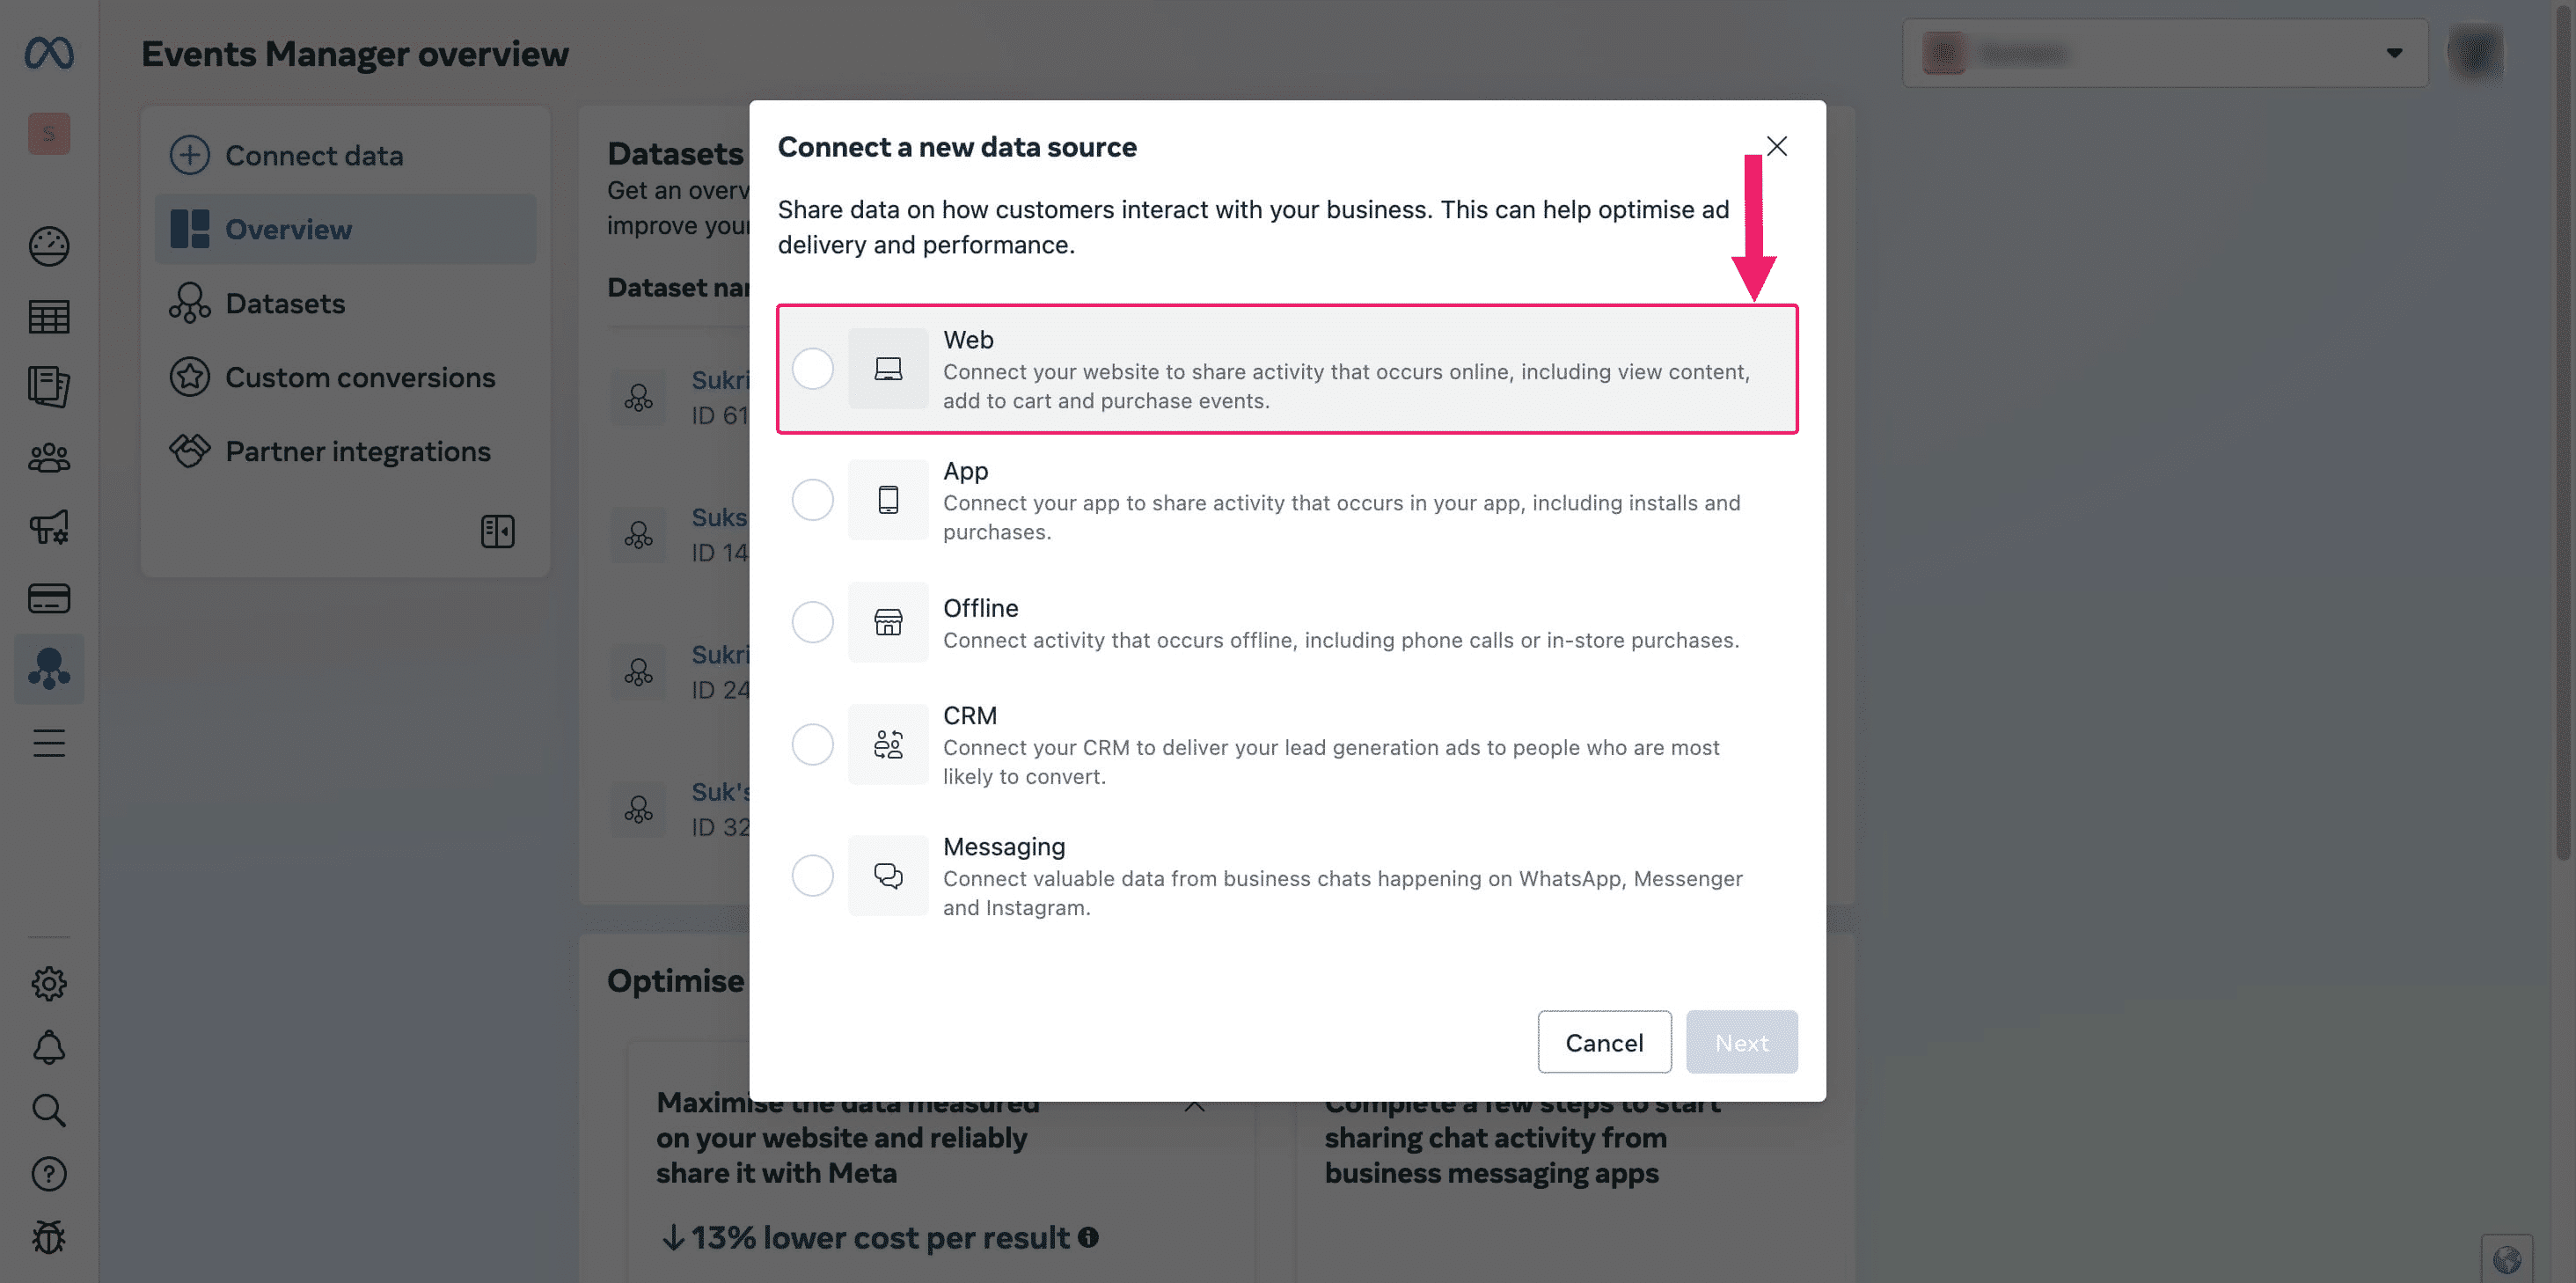
Click on "Next"
Click on "Create new dataset"
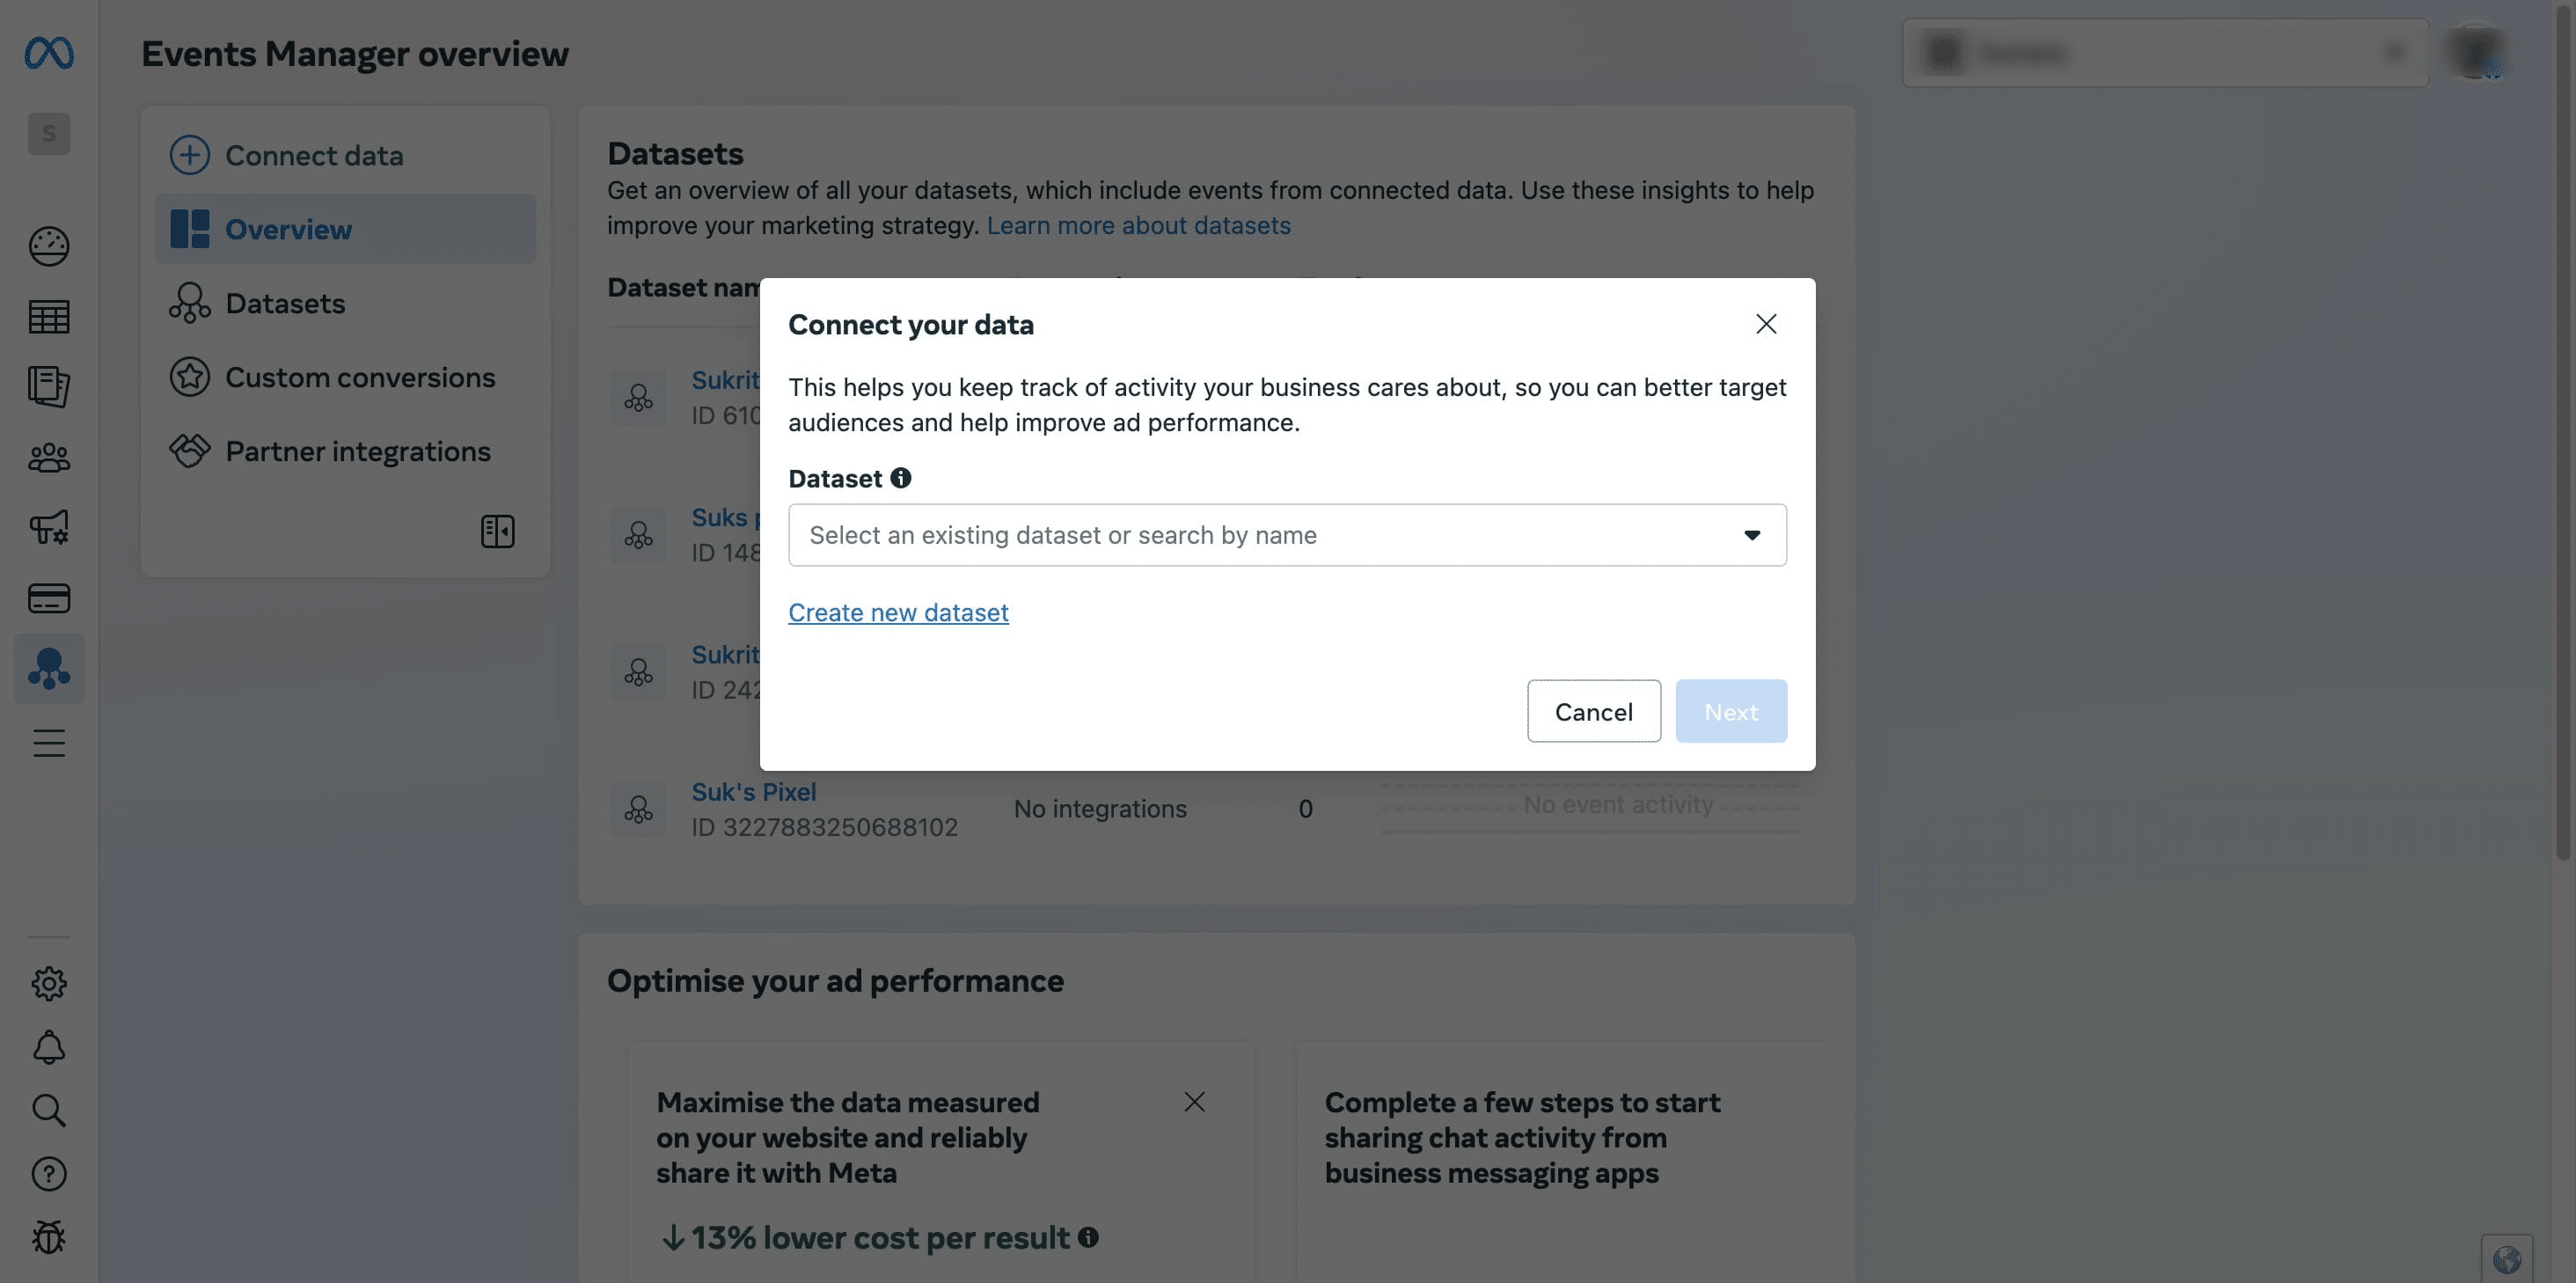
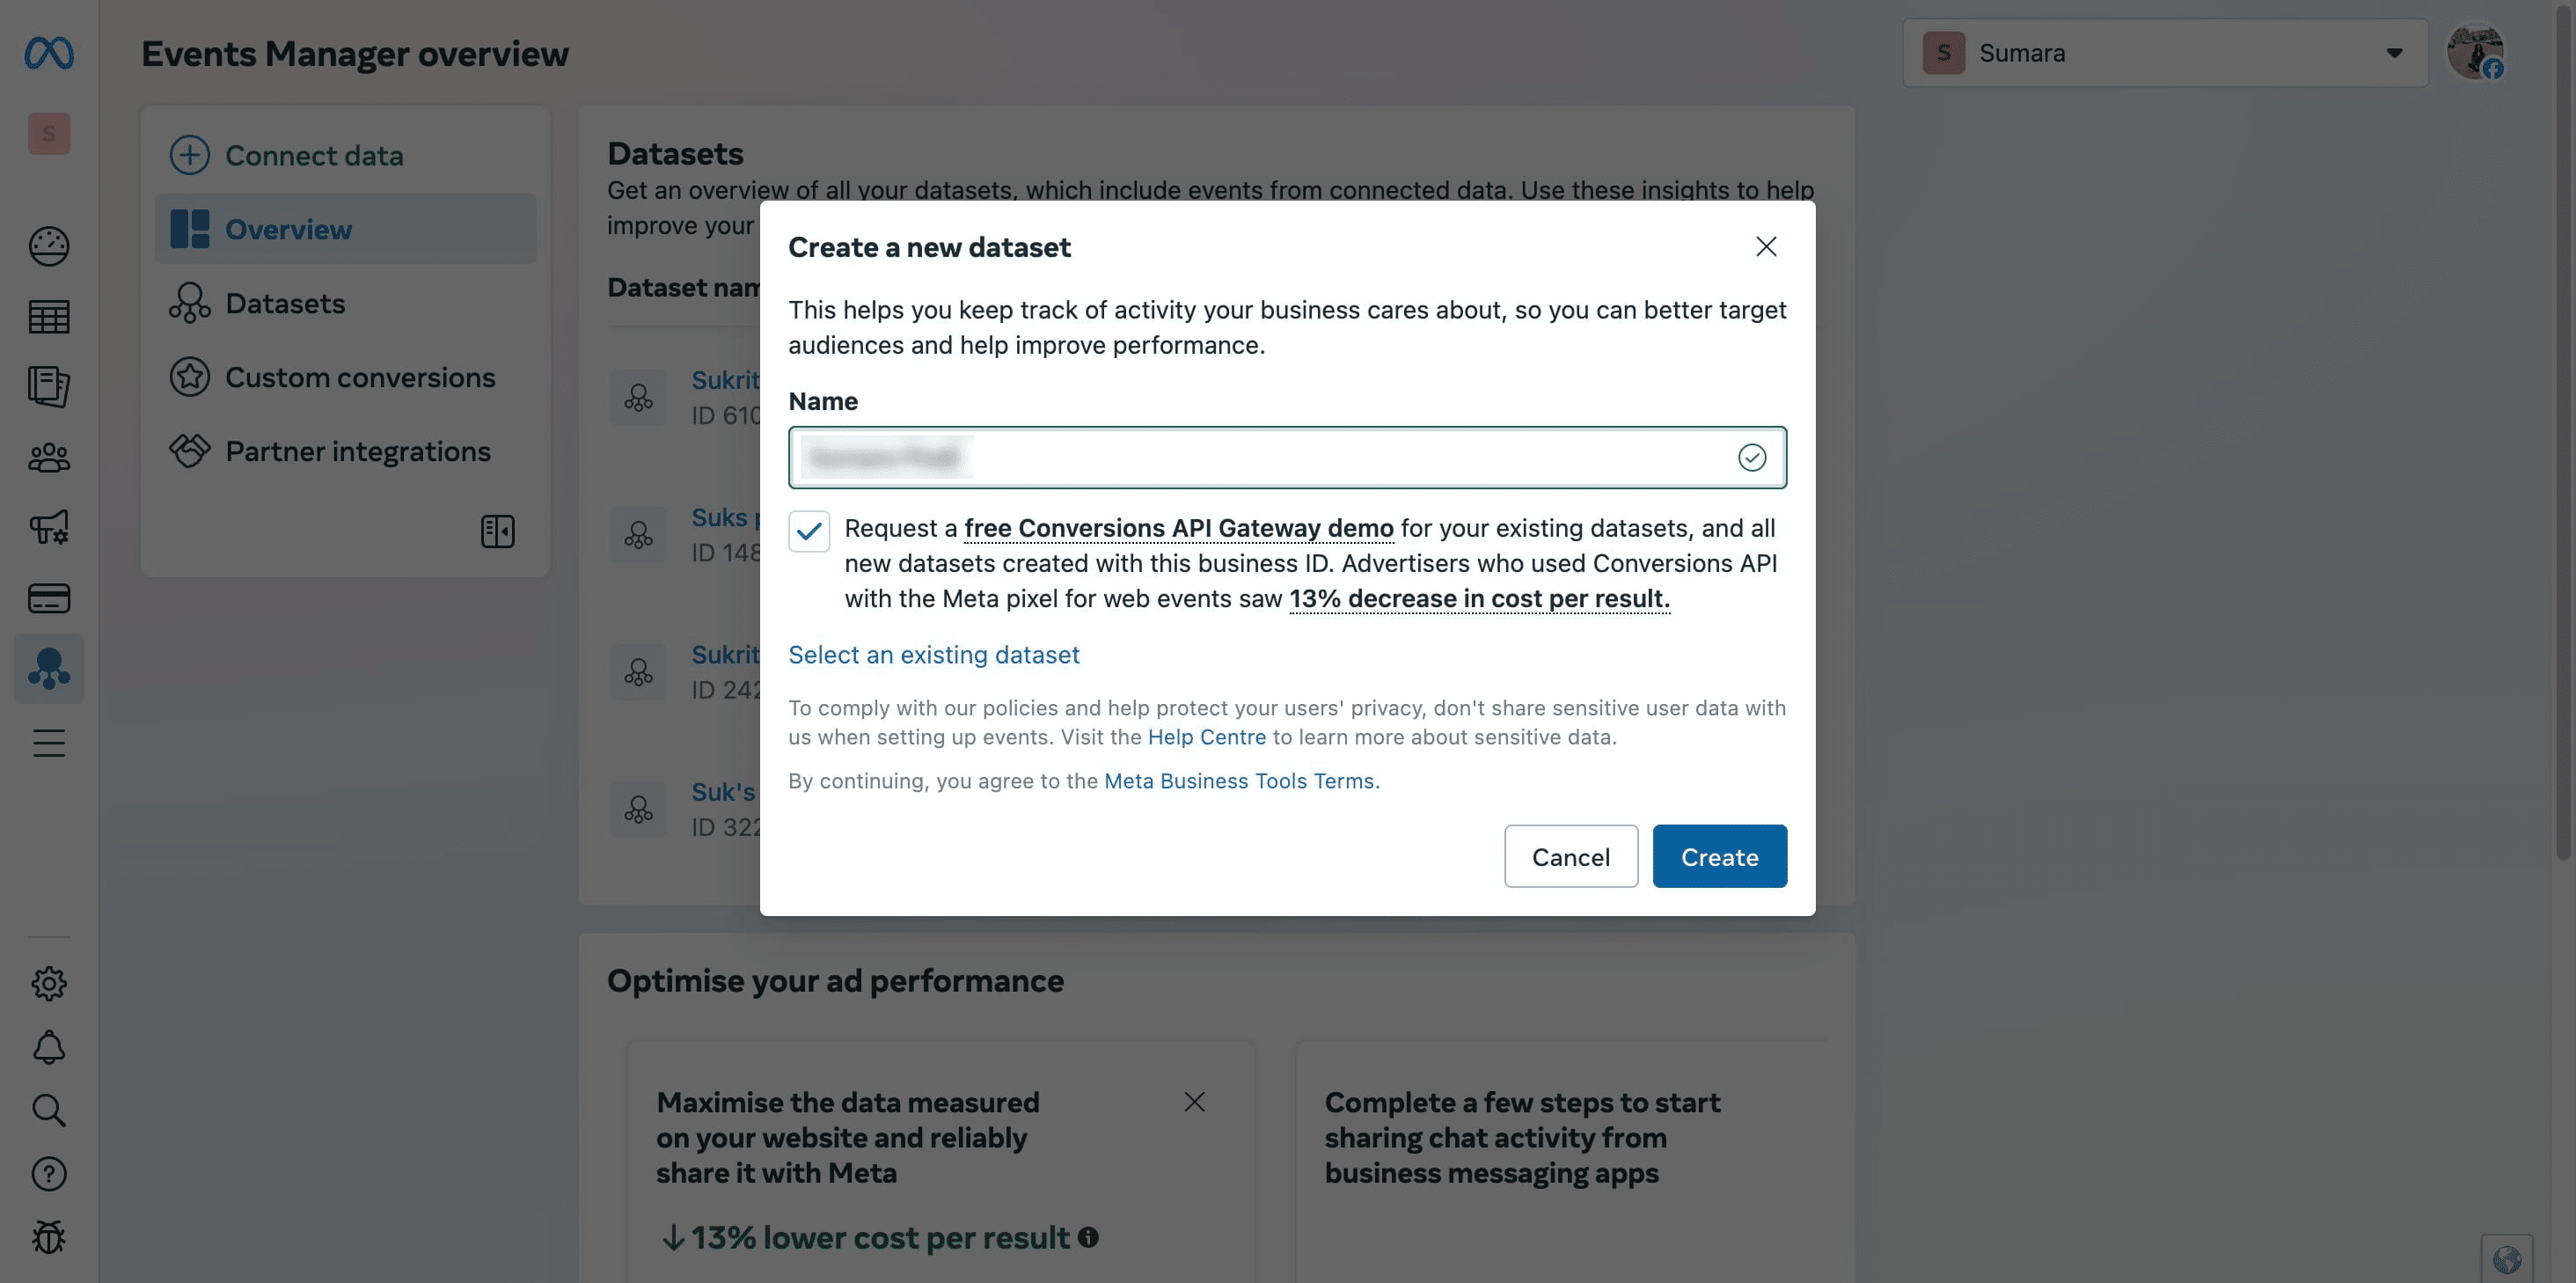
Enter a name for your pixel (e.g., “Your Business Pixel”).
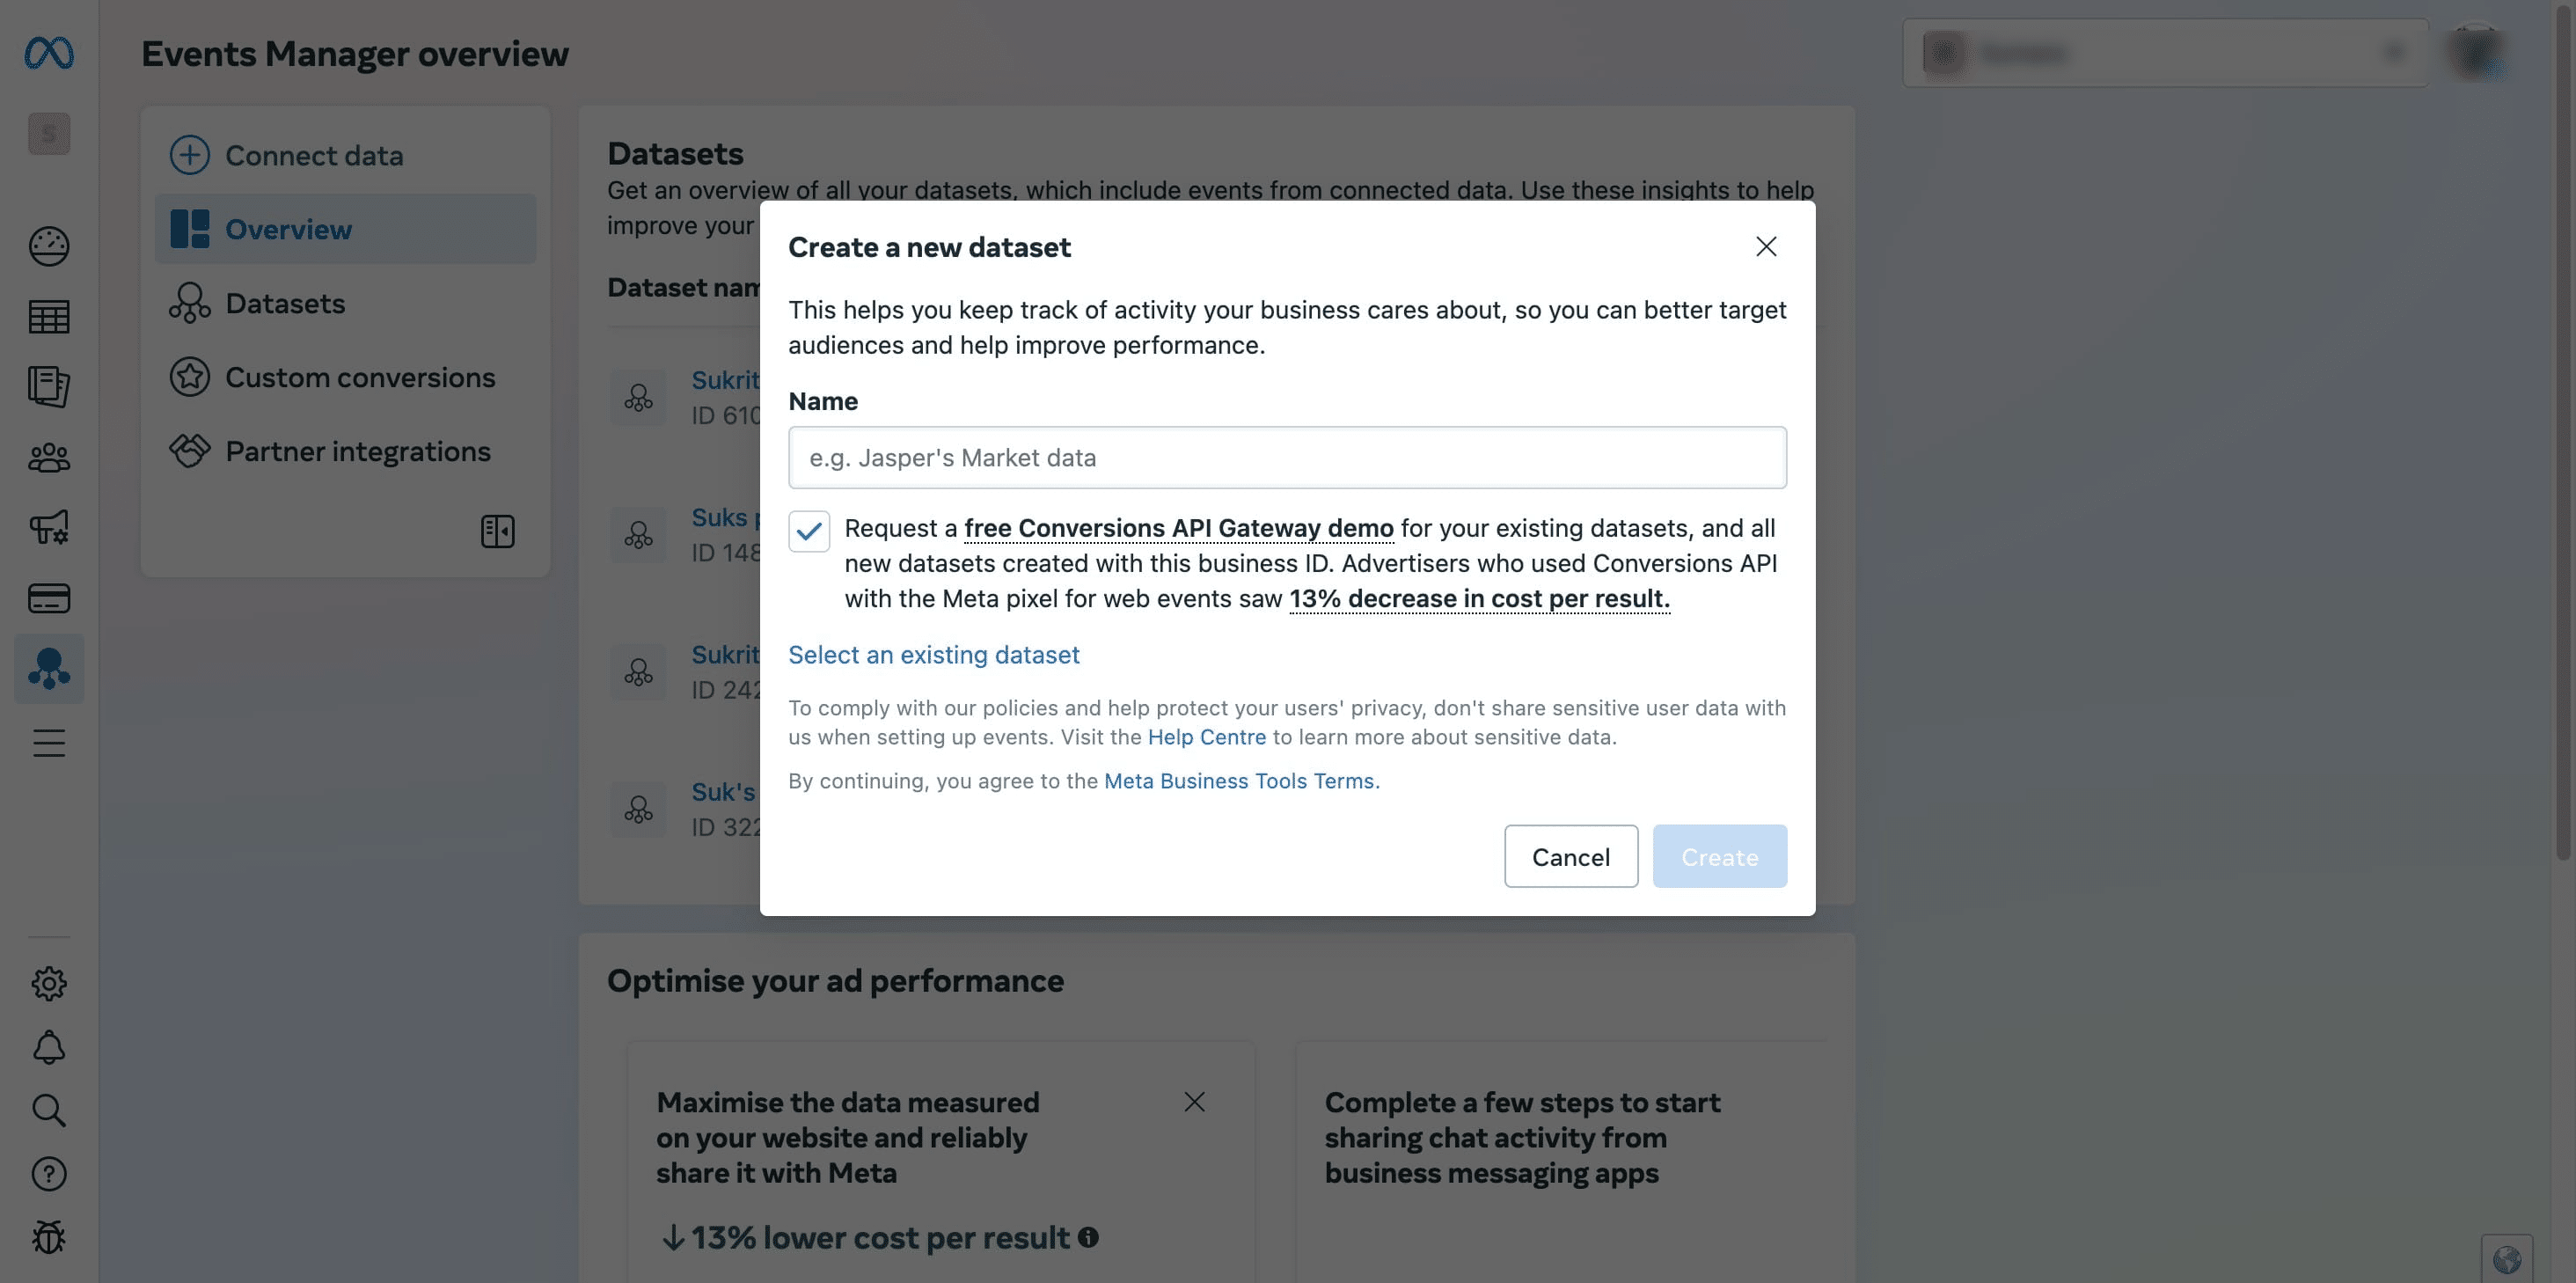
Click “Create” to finalize.
Click to close this window and then navigate to 'Datasets' in the left sidebar.
Once the Pixel is created, it will appear on the screen. Select the Pixel and check the details in the panel on the right side of the interface.
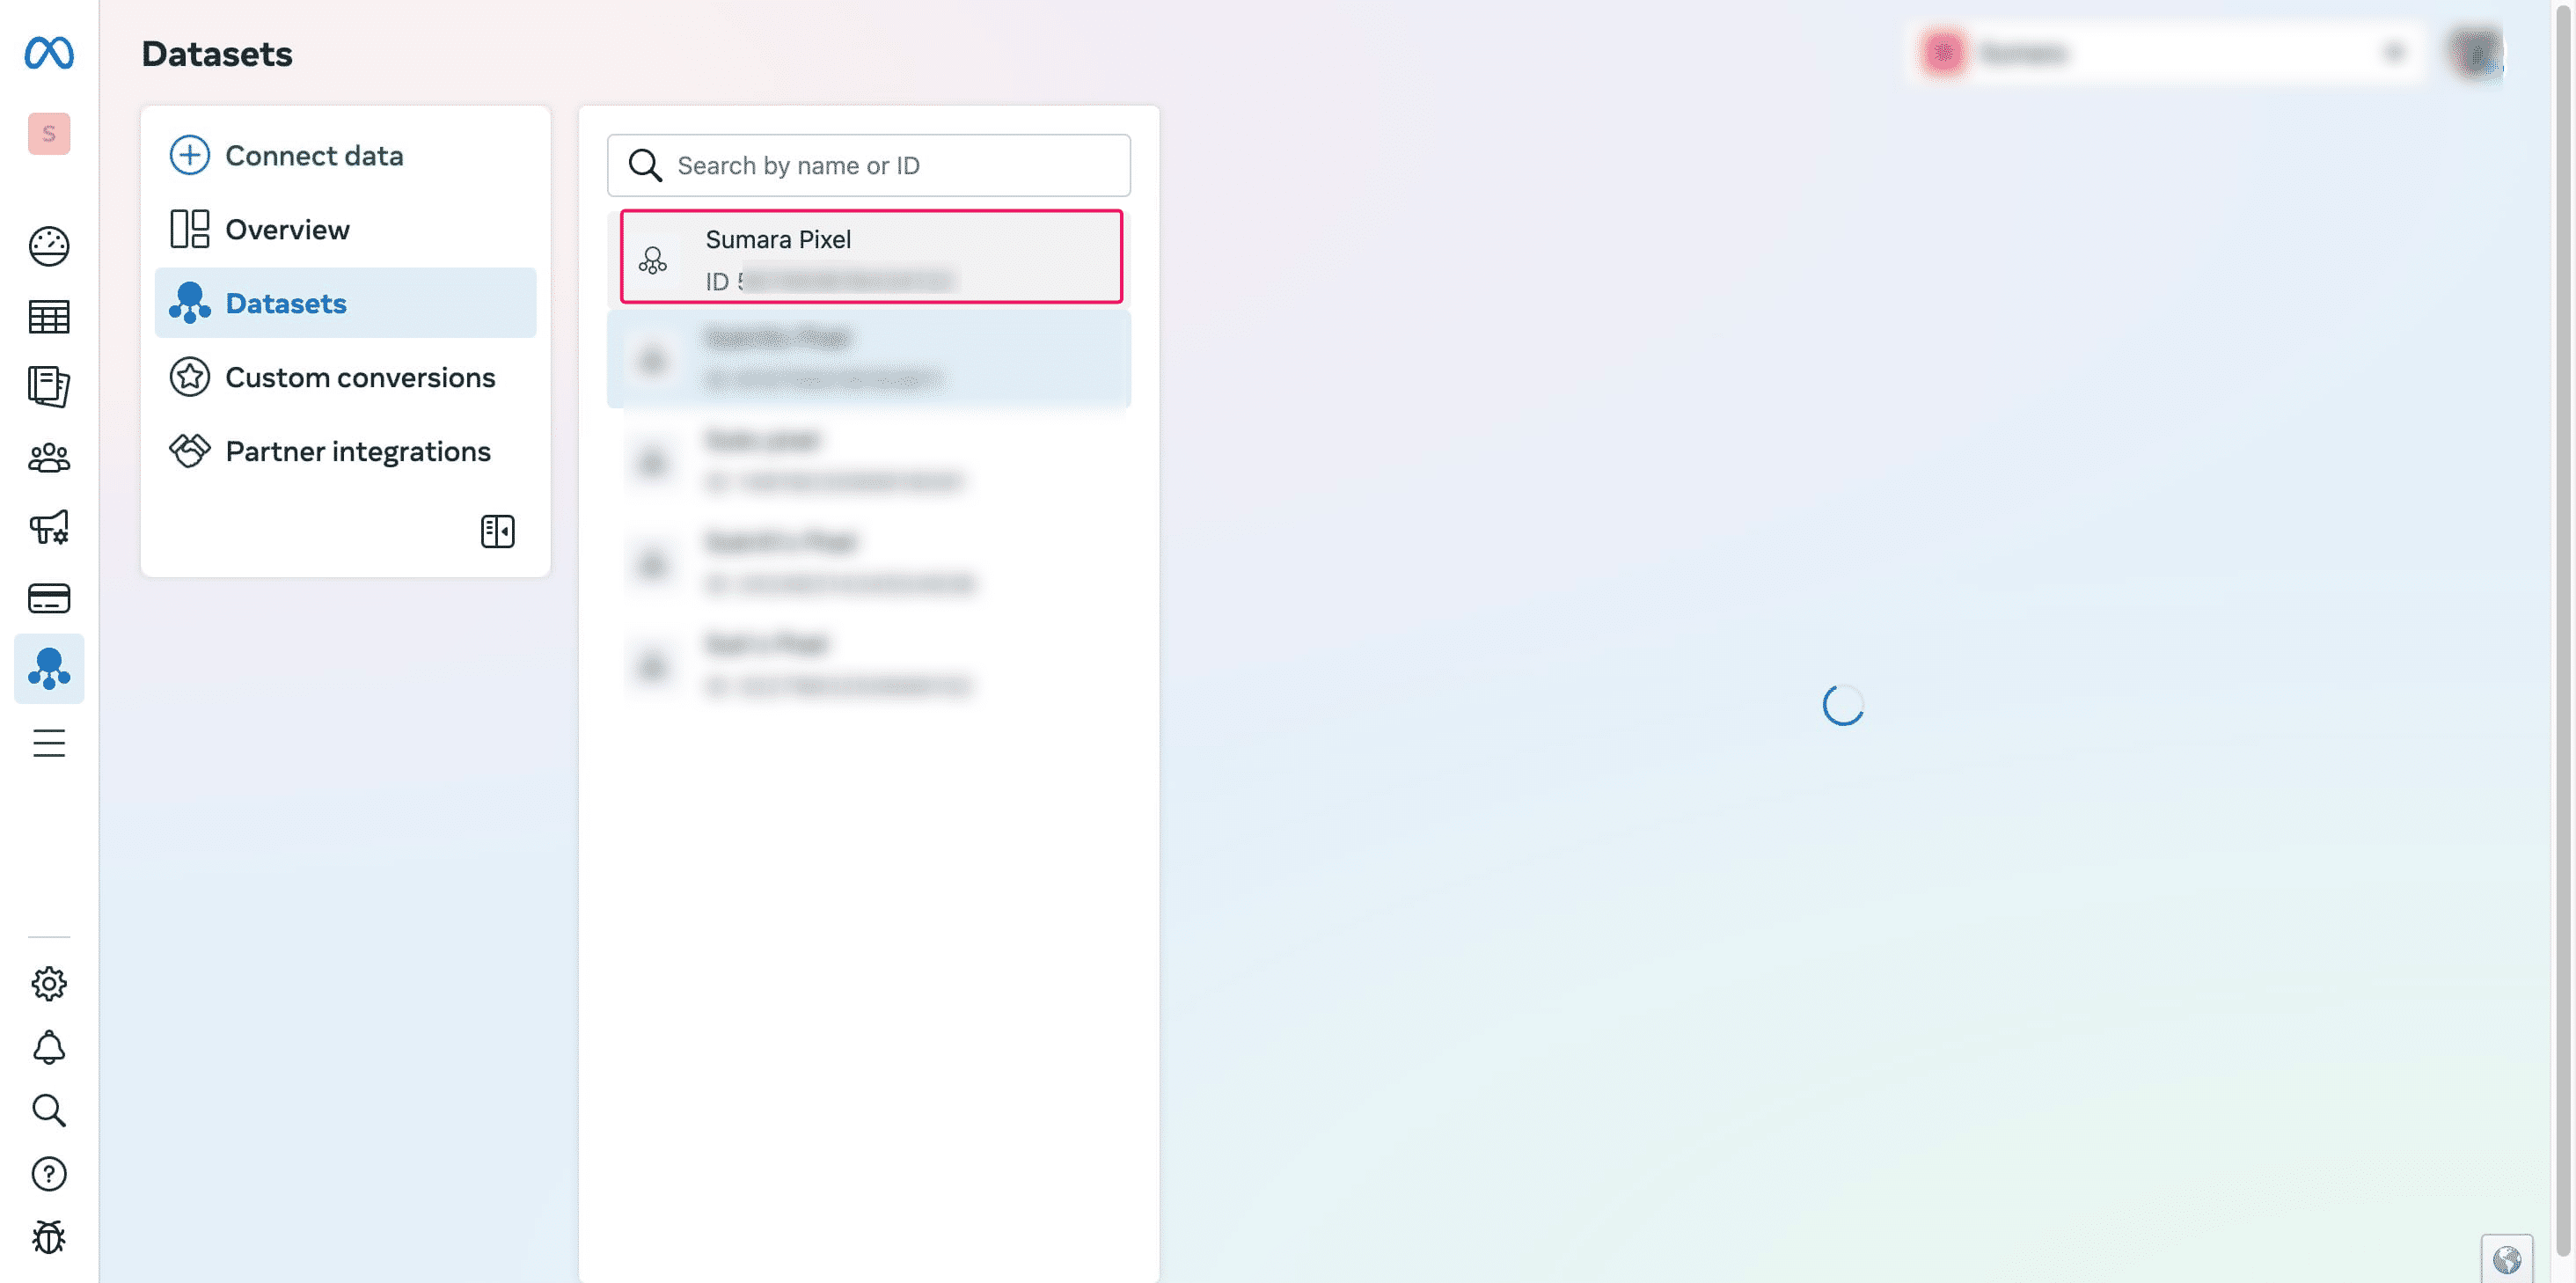
Click on "Settings"
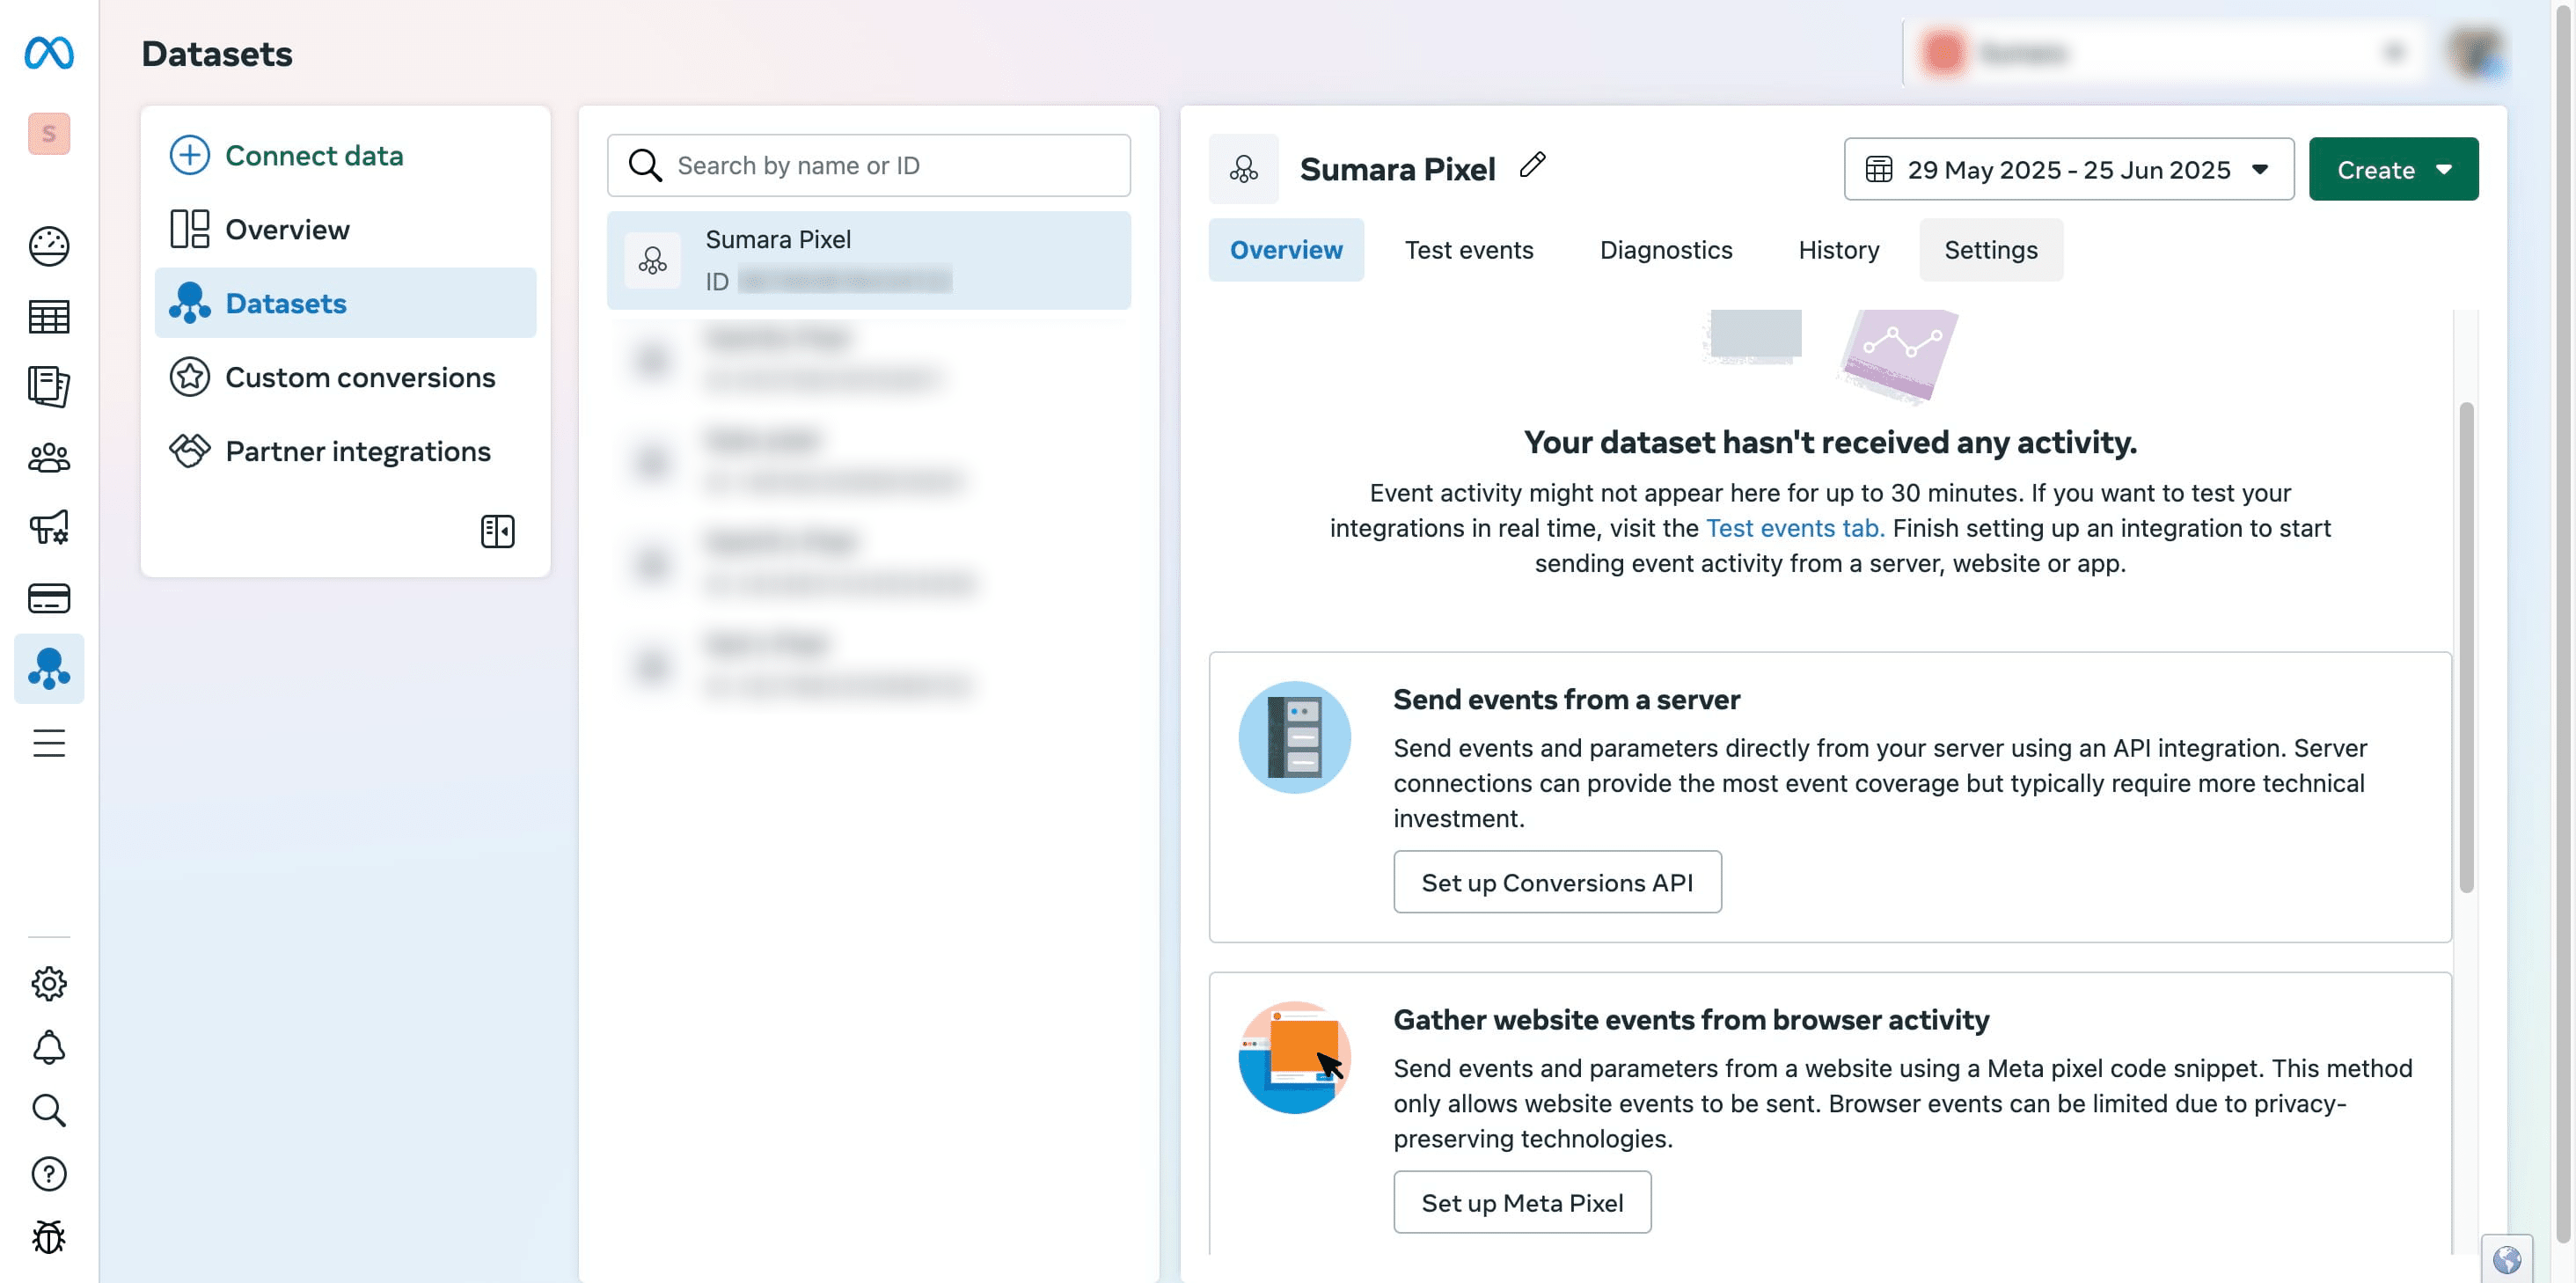
Copy the "Data set ID." This ID corresponds to your pixel ID.

If you have PIXEL Setup already. Follow these steps to find your Pixel ID (From Events Manager)
Go to Meta Business Suite and log in.
-
In the left menu, click on “All Tools” → then click on “Events Manager.”
-
Inside Events Manager, go to the “Data Sources” tab.
-
Under Pixels, you’ll see all the pixels linked to your account.
-
Click on the Pixel name you want to check.
-
At the top-right or below the name, you'll see: Pixel ID: 1234567890 — Copy this ID.
Integrating Meta Pixel with Alippo AI Cofounder CMS
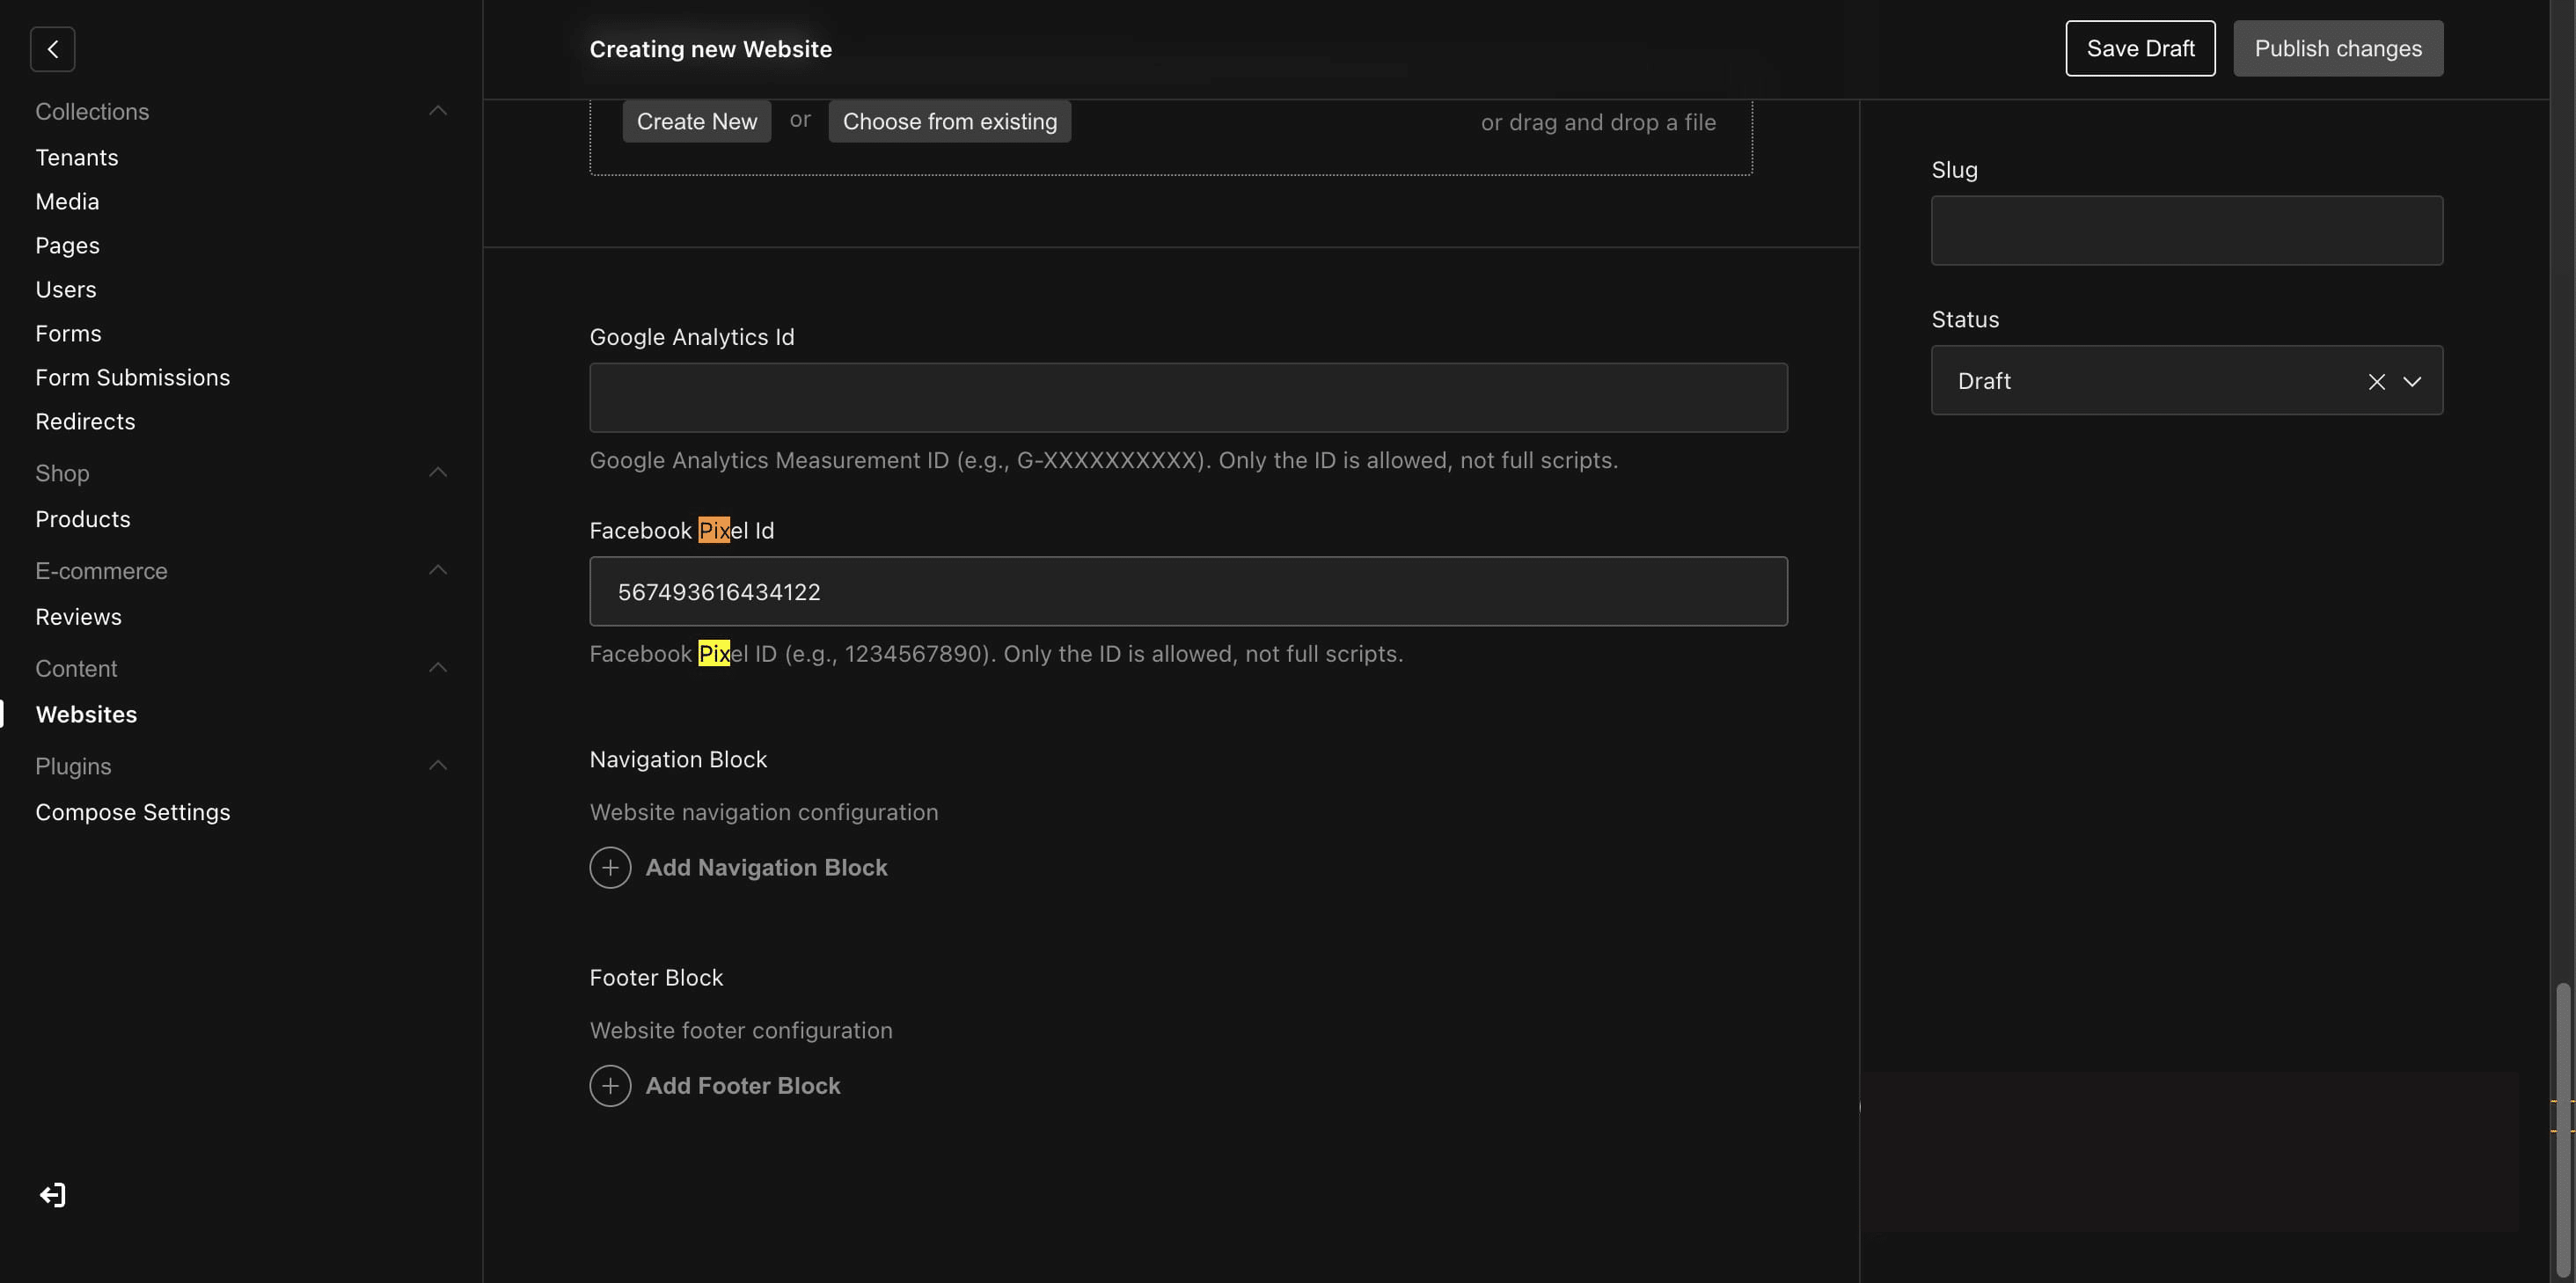
To log in, go to aic.alippo.com. Enter your credentials and then proceed to aic.alippo.com/cms/admin/collections/website.
.
Enter your credentials and then proceed to [aic.alippo.com/cms/admin/collections/website.](url)](https://assets.guidejar.com/uploads/06e3d643-3dd5-4e71-a644-25ad47280425/Ehf5NYlEDuaayJ7EoRJL7A6mhiG2/1e1cf2b0-7db9-490c-93bd-fe9bfdb132e0/1750939118238.jpeg)
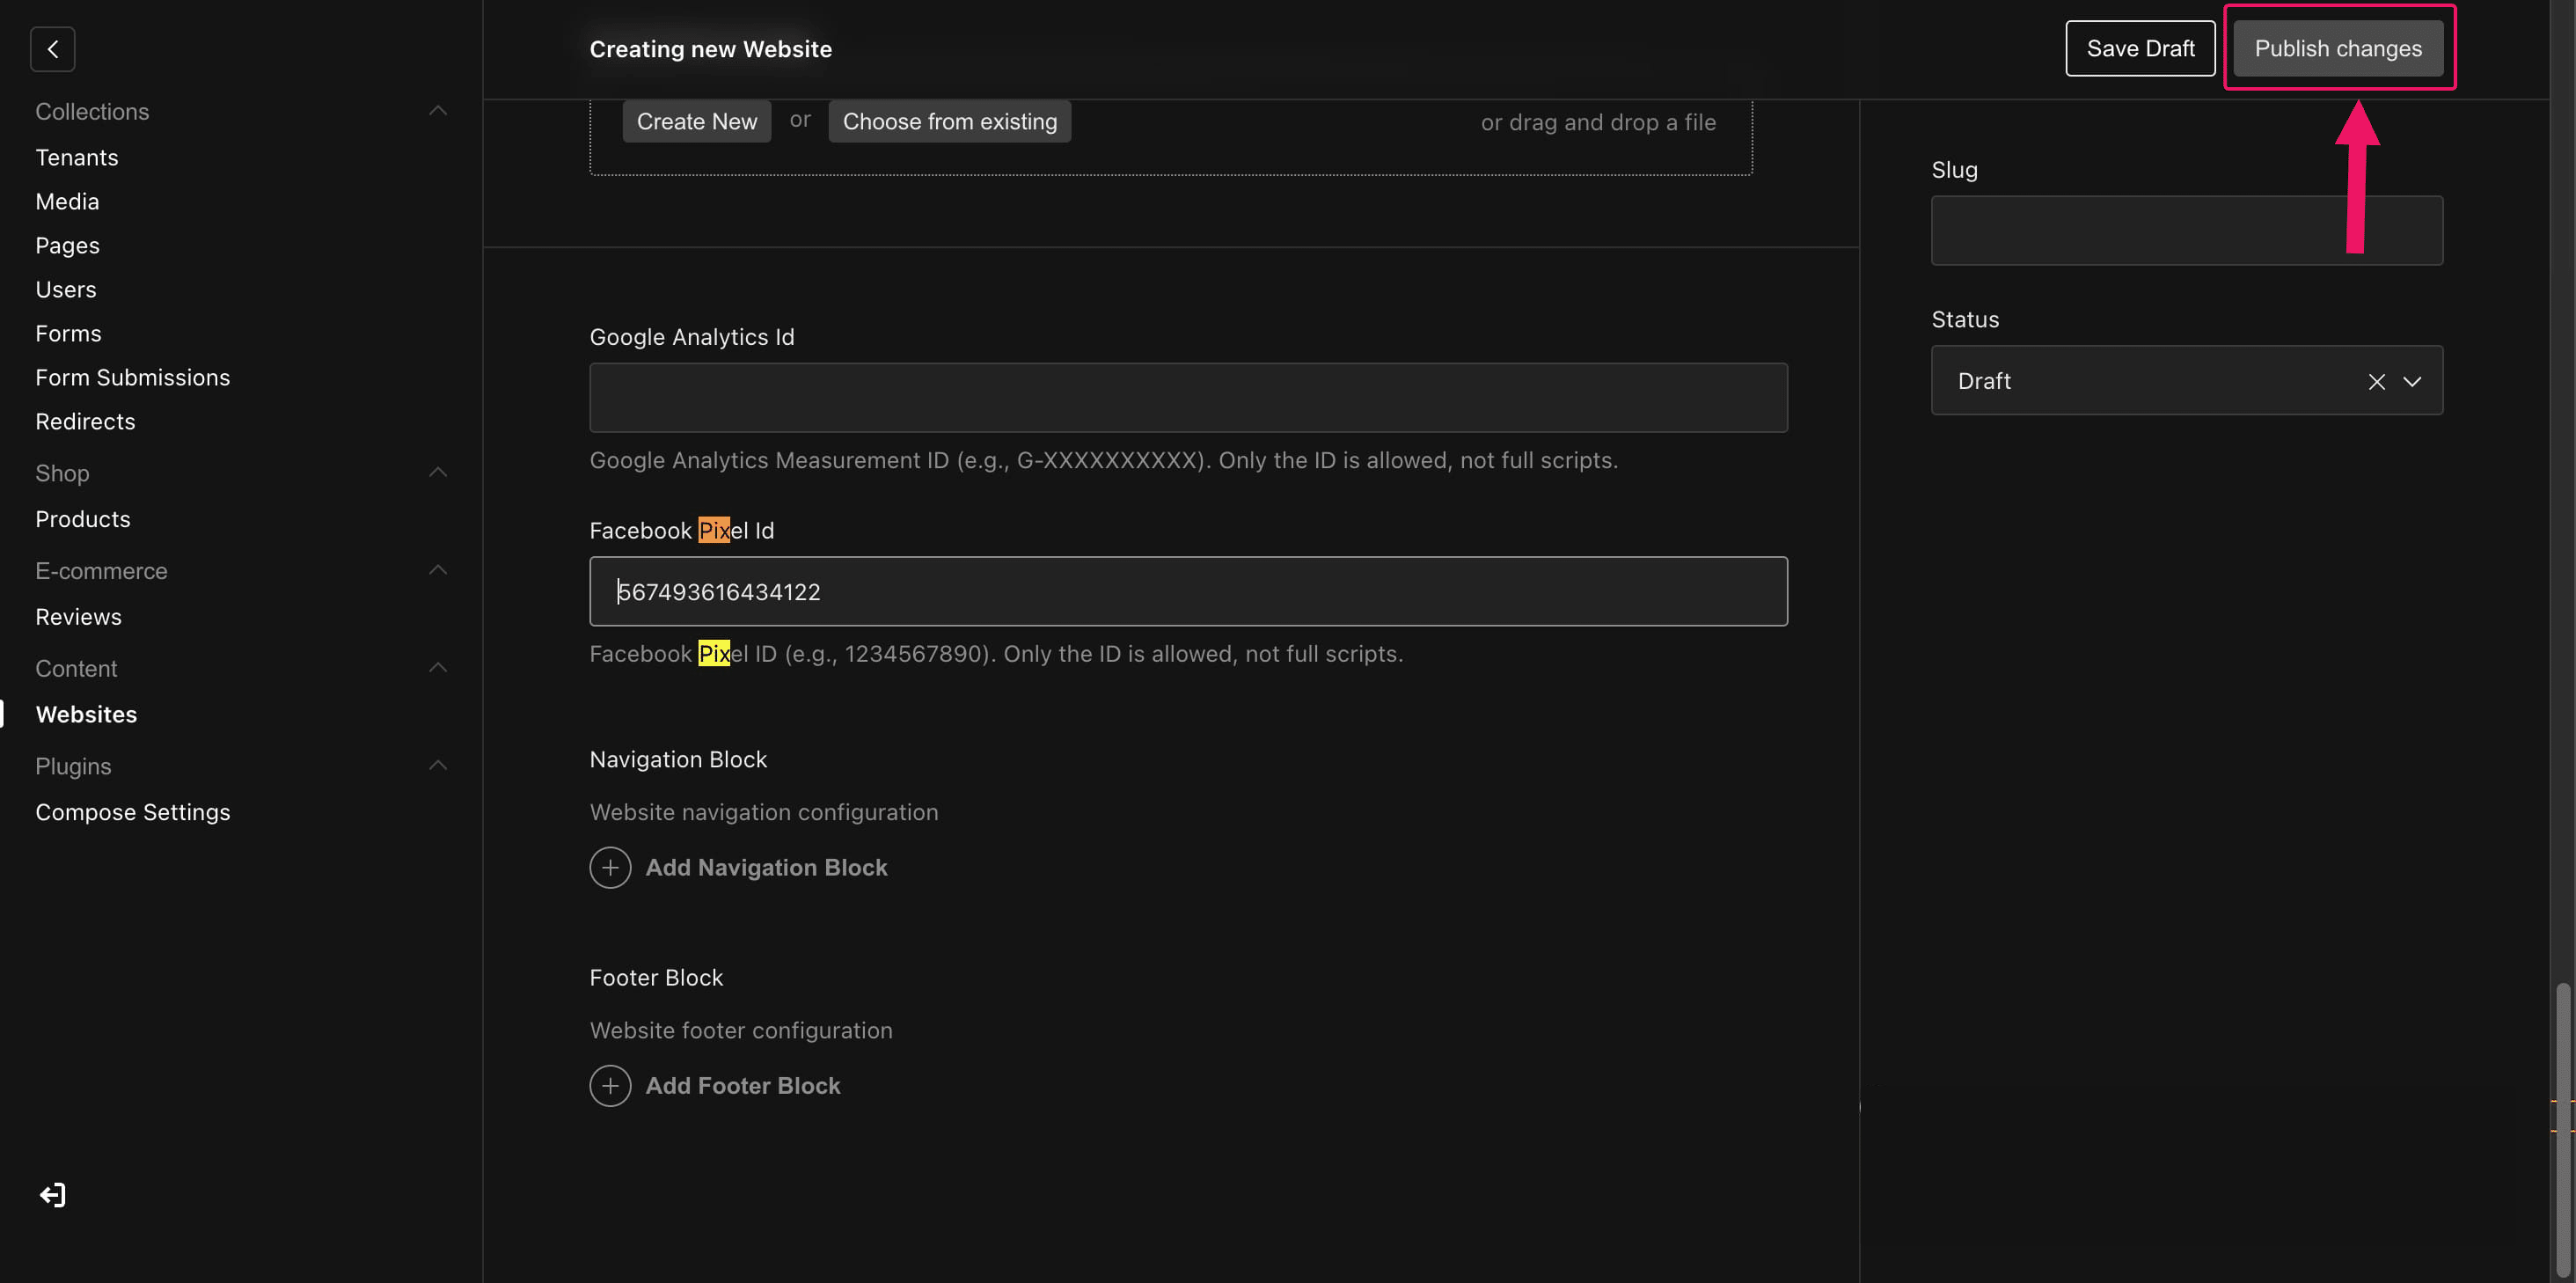
Scroll down to the "Facebook Pixel ID" section and enter your Pixel ID.
Click "Publish" to save and apply your changes.
Frequently Asked Questions
- What is the Meta Pixel and why do I need it?
The Meta Pixel (formerly Facebook Pixel) is a tracking tool that helps you measure the effectiveness of your ads by tracking the actions users take on your website. It allows you to optimize ad campaigns, retarget users, and track conversions, ensuring that your marketing efforts are more effective.
- How do I create a Meta Pixel for my website?
To create a Meta Pixel, log in to your Meta Business Manager, go to Events Manager, click on Connect Data, and select Website as your data source. From there, create a new pixel, name it, and follow the steps to set it up.Your answer goes here
- How do I find my Pixel ID?
After creating your Meta Pixel, go to Datasets in the Events Manager, select the Pixel name, and then navigate to Settings. You can copy the Dataset ID, which is also your Pixel ID.
- How do I integrate my Meta Pixel with my Alippo AI Cofounder CMS?
To integrate the Pixel with your Alippo AI Cofounder CMS, log in to the Alippo CMS, go to the Facebook Pixel ID section, and paste your Pixel ID. Then, click on Publish to apply the changes.
- Can I use the same Pixel for multiple websites or pages?
Yes, you can use the same Meta Pixel across multiple websites or pages. Simply use the same Pixel ID for different integrations, and it will track events on all connected sites.
- What are the benefits of using the Meta Pixel on my website?
The Meta Pixel helps you optimize your advertising campaigns by tracking user behavior, allowing for retargeting, and measuring conversions. It provides data to help you refine ad targeting and improve your ROI.
- How do I verify if my Meta Pixel is working correctly?
You can use the Facebook Pixel Helper browser extension to verify if your Pixel is working. The extension will show if the Pixel is firing correctly and tracking user actions on your site.